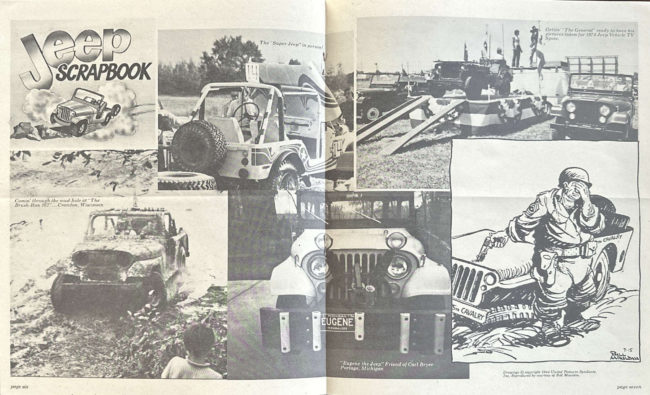
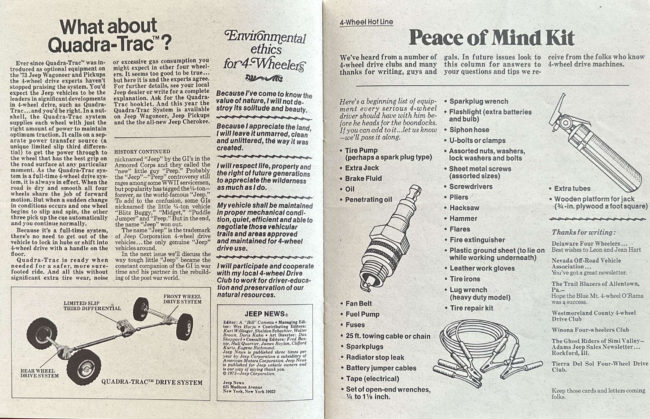
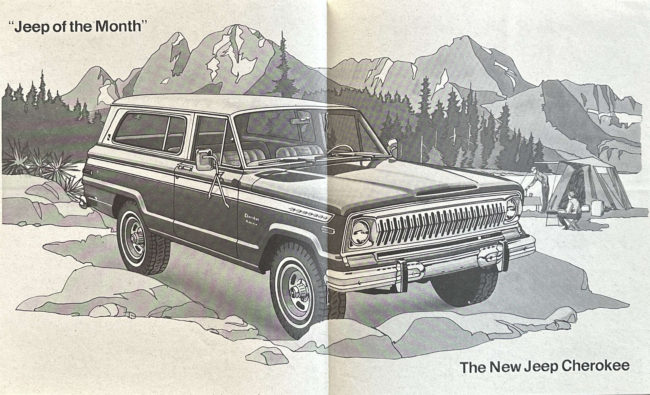
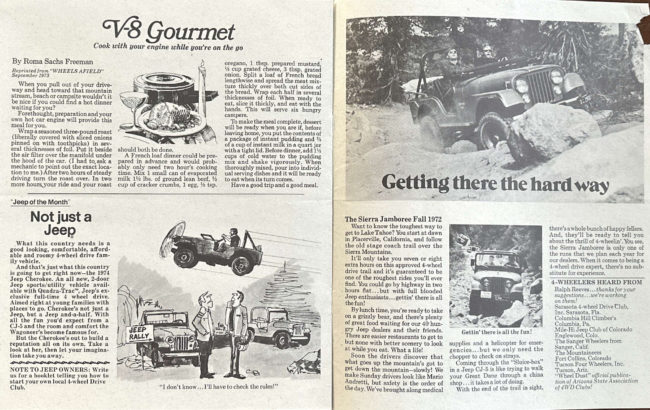
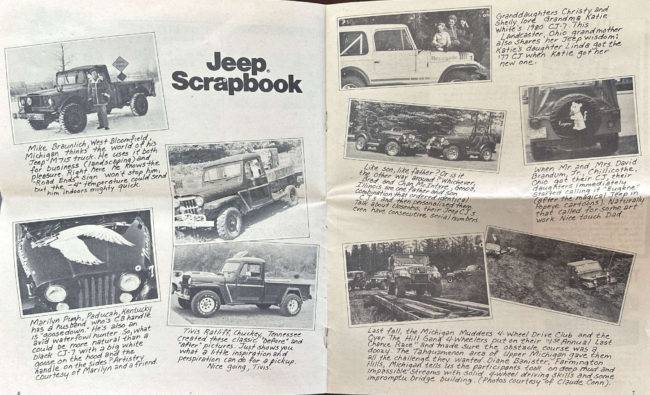
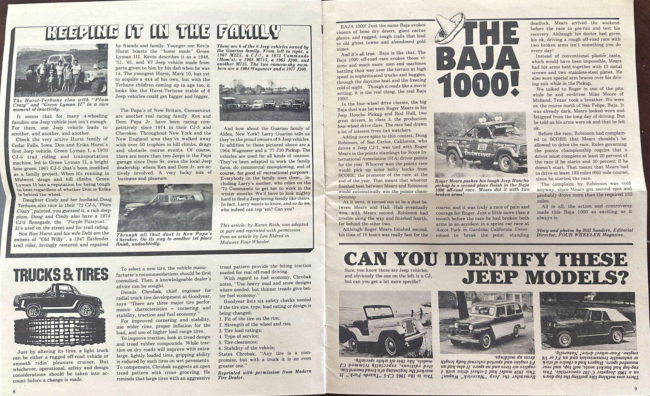
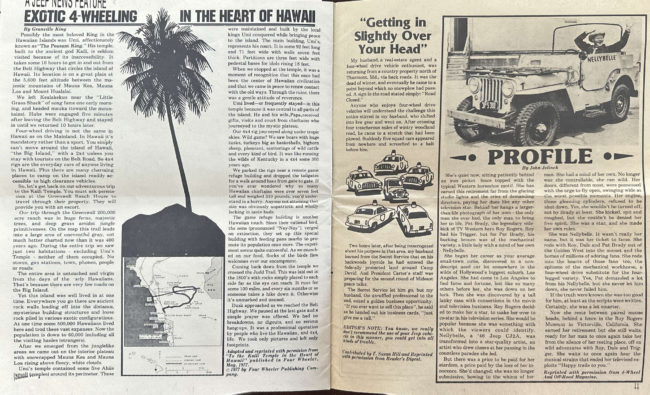
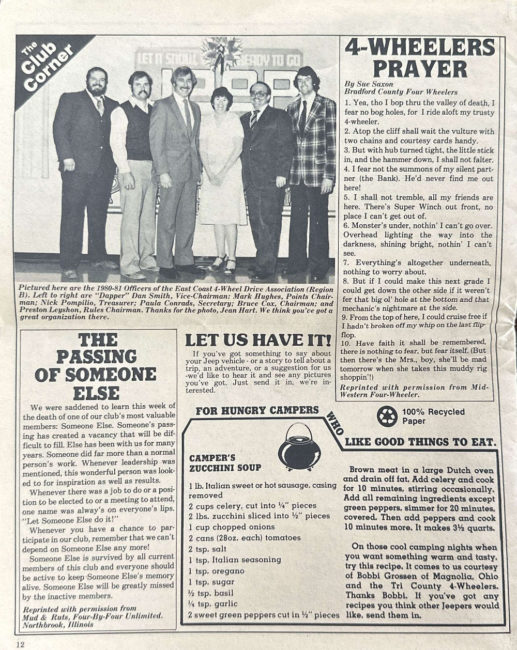
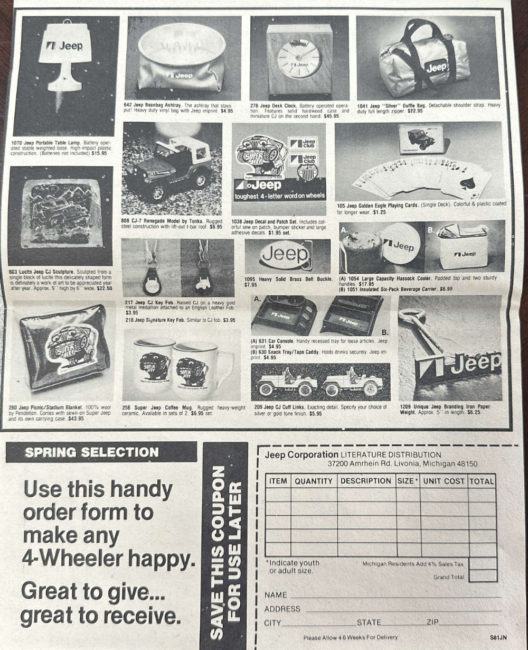
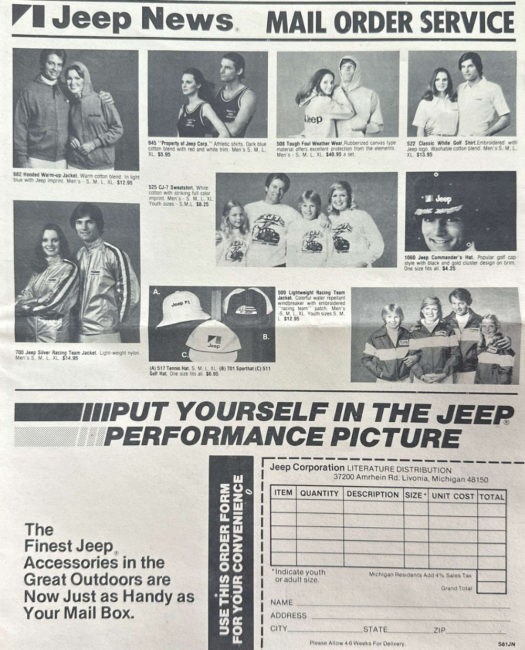
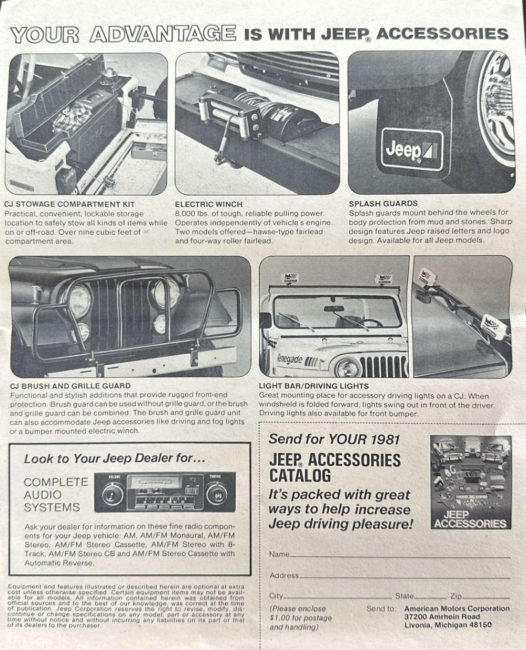
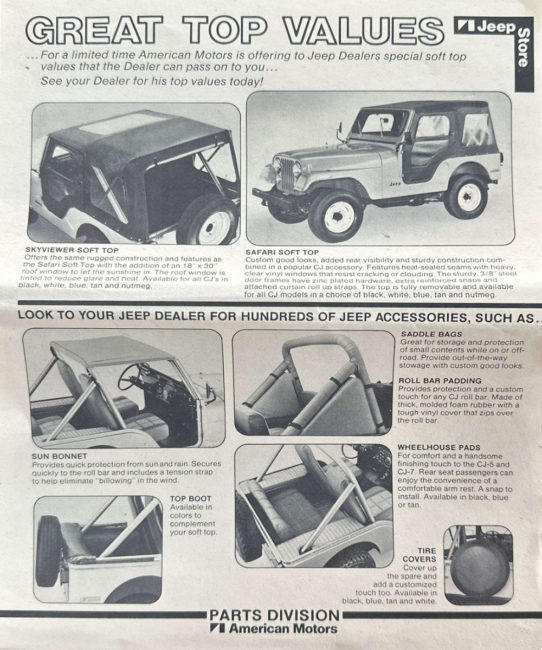
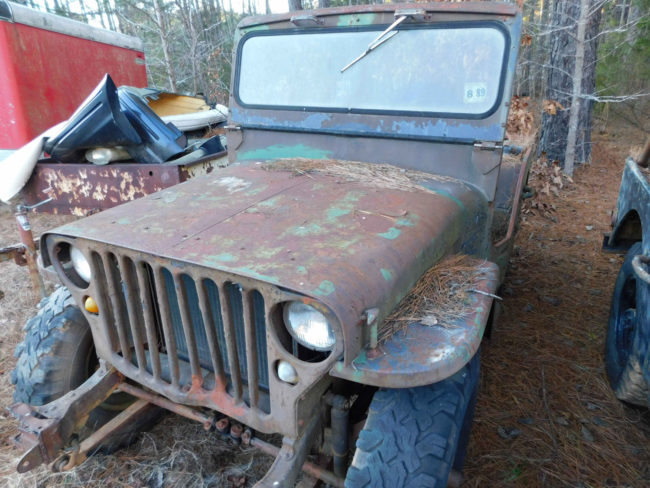
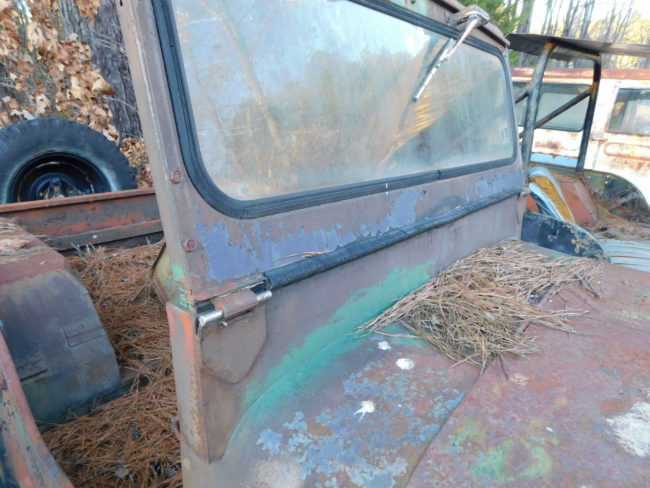
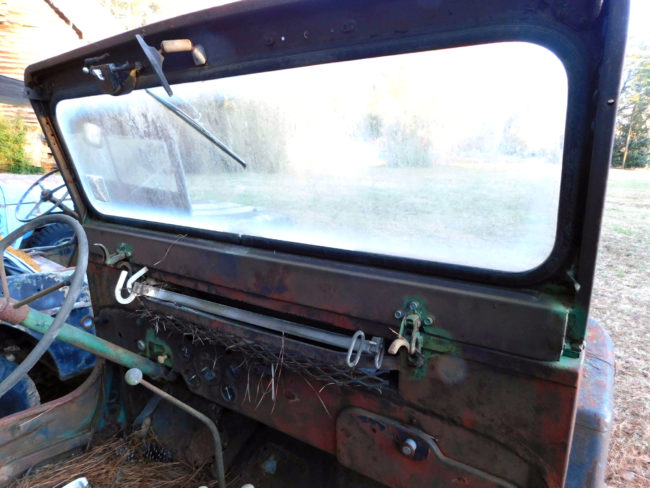
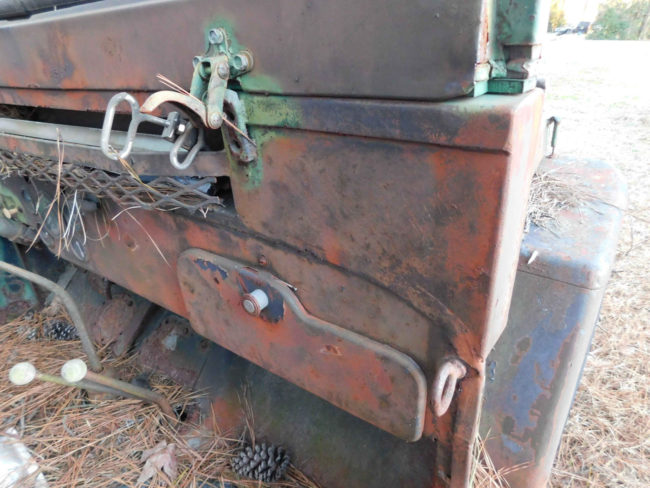
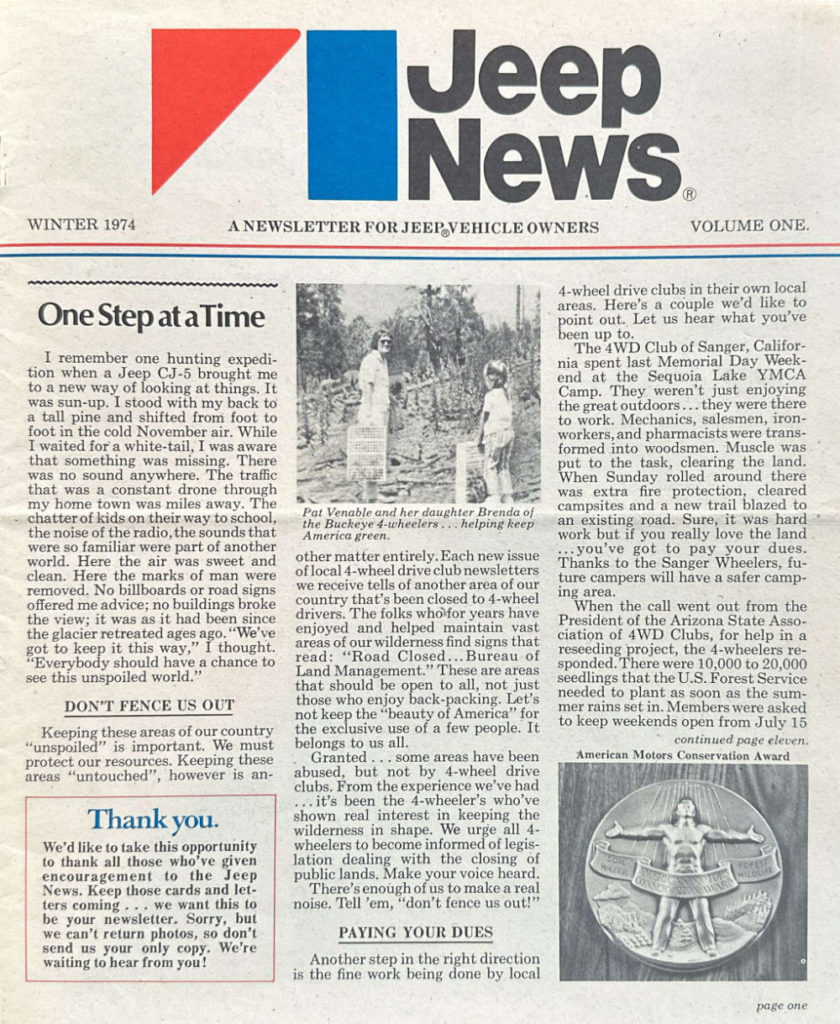
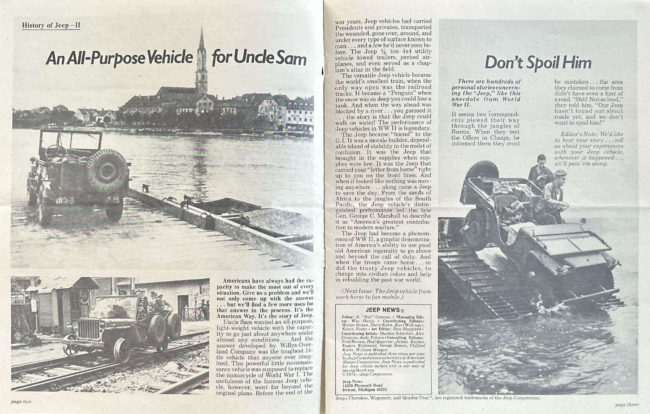
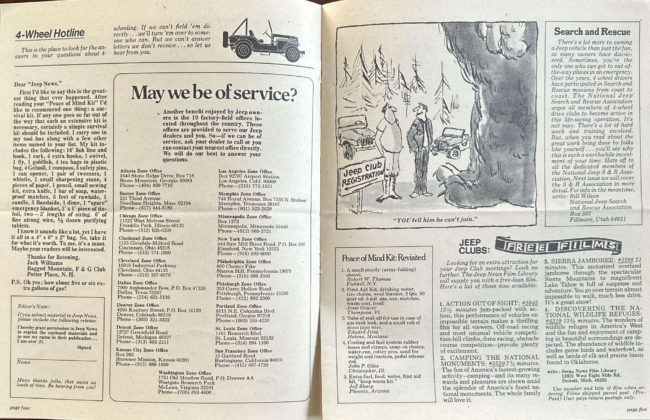
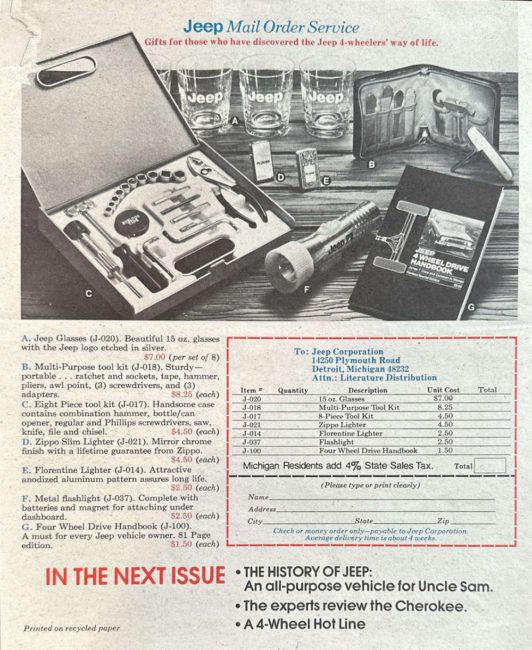
This issue of Jeep News is printed with Winter 1974 on it, but I think that refers to Jan/-Feb of 74 rather than Nov-Dec 74 and Jan 75. There are other issues (to be posted) that cover that time period.
Features Research Archives
Jan 2023 MVCC Arizona Military Vehicle Show
UPDATE: The event is today and tomorrow!
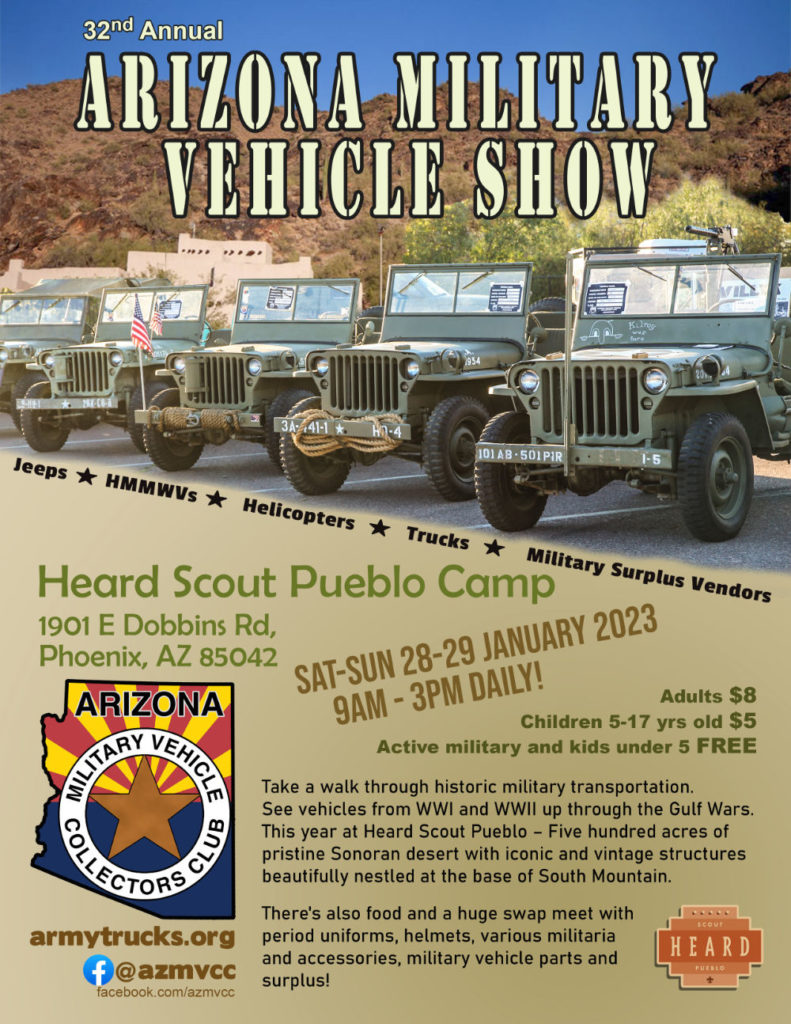
Joe in Mesa shared this event flyer for the 32nd annual Arizona Military Vehicle Show in Phoenix, Arizona, January 28th-29th, 2023.
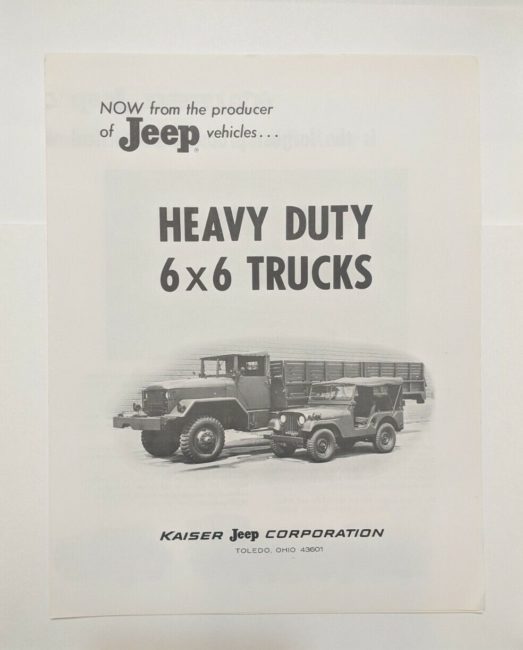
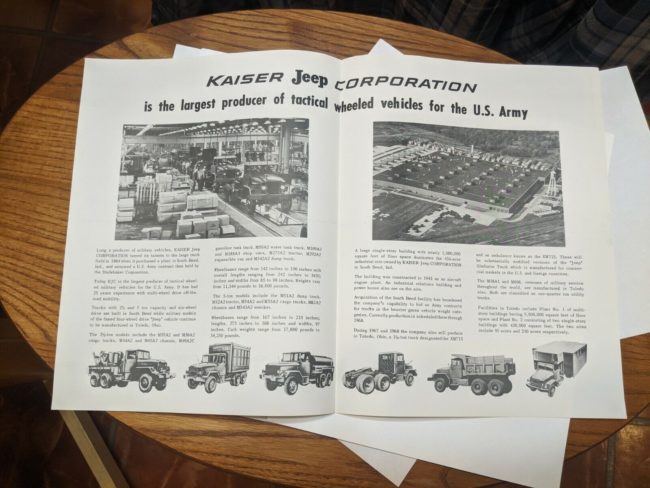
1967 Kaiser Jeep Military 6×6 Brochure on eBay
This Kaiser Jeep brochure features 6×6 rigs. The seller has eight of them.
View all the information on eBay
“1967 Kaiser Jeep Heavy Duty 6×6 Fold Out Sales Brochure.”
Jeep News Issues & the Fall of 1973 Issue
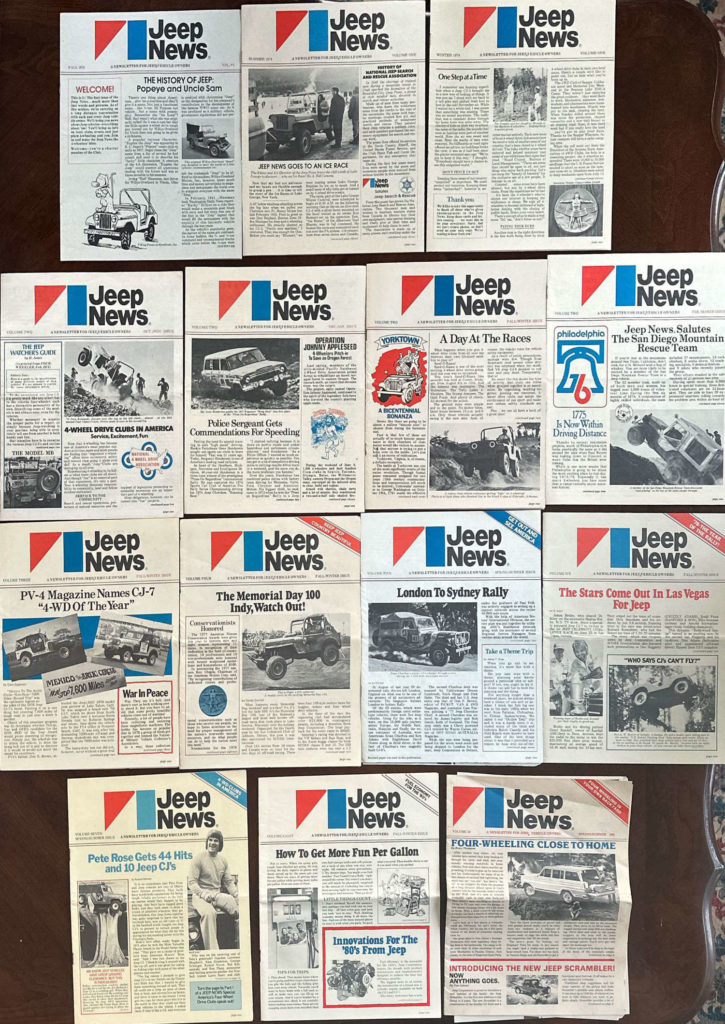
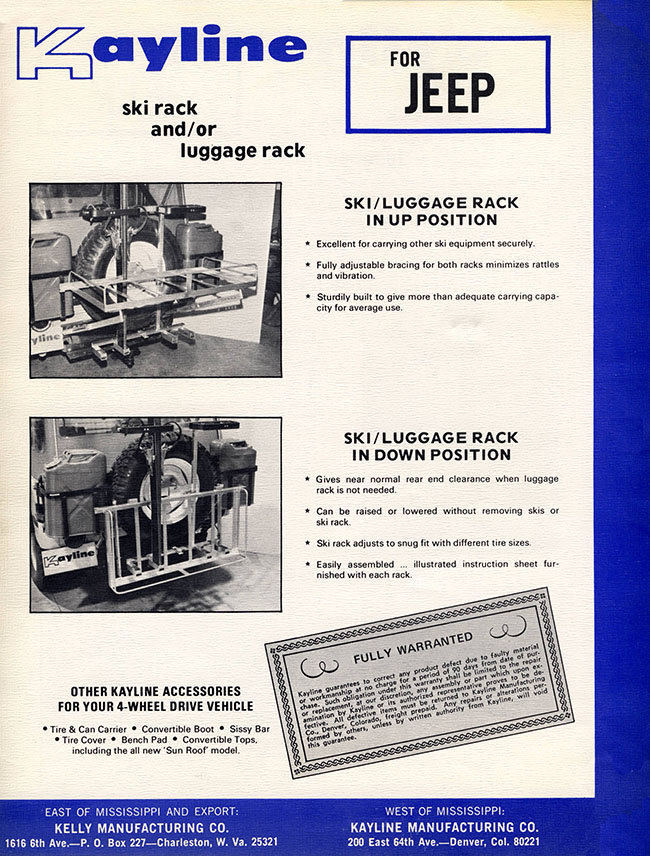
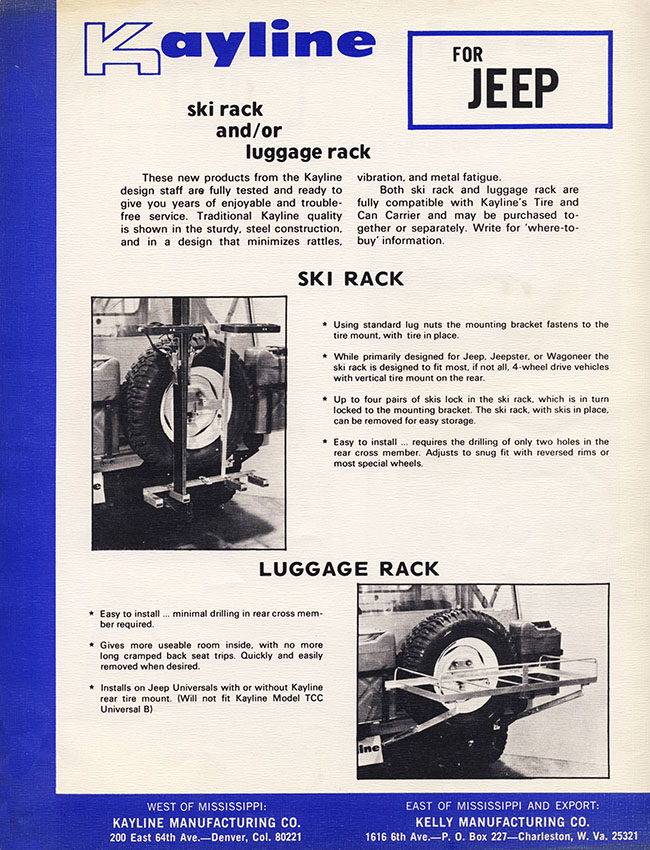
Thanks to Illinois Larry, I discovered that I had only posted one of my issues of the Jeep News from the 1970s. It’s not clear to Larry (who has 10 issues) or I (who have 14 issues) just how many were produced, but between our collection, there were at least 15 issues published.
Here’s an overview of covers of what I have, followed by a photo of what Larry has that I don’t. Strangely, many of these lack the published year, so figuring out when some of these issues were published is tricky:
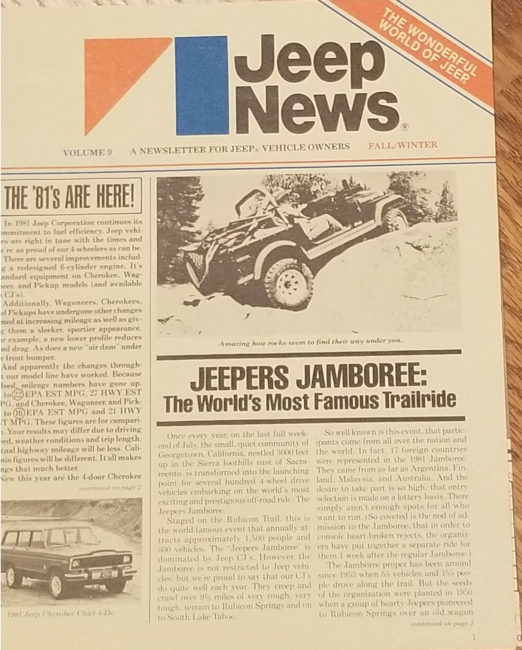
This is the cover page from what we believe is Larry’s Winter Fall-Winter 1981-1982 issue.
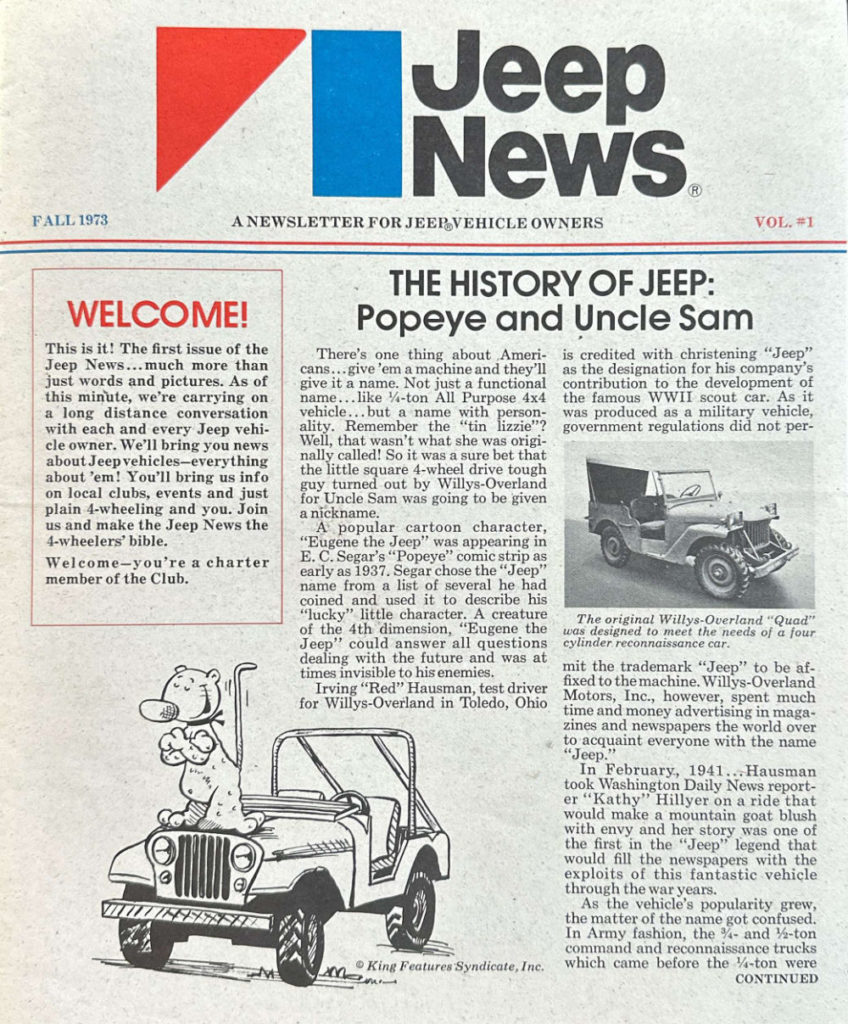
FALL 1973 Issue: This is the earliest issue I have and may be one of the first ones, if not the first.
More Cage Progress
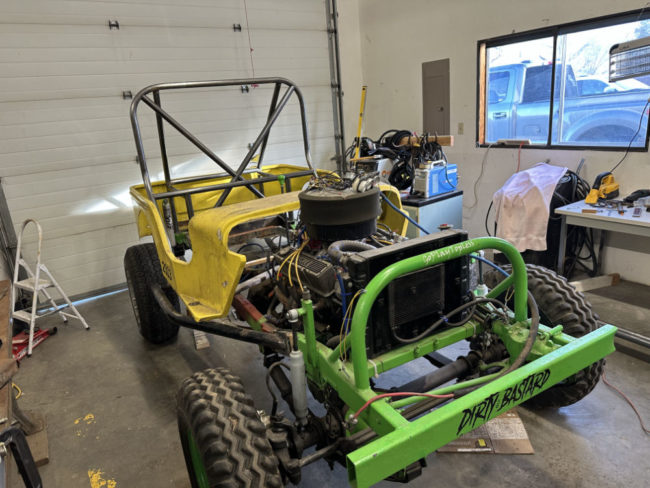
On Sunday, I was able to tack together the basic structure of the rear portion of the cage. On Monday, I began work on the front portion.
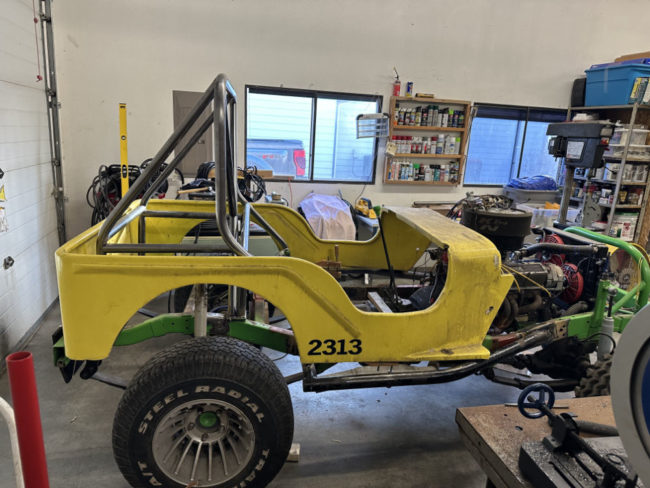
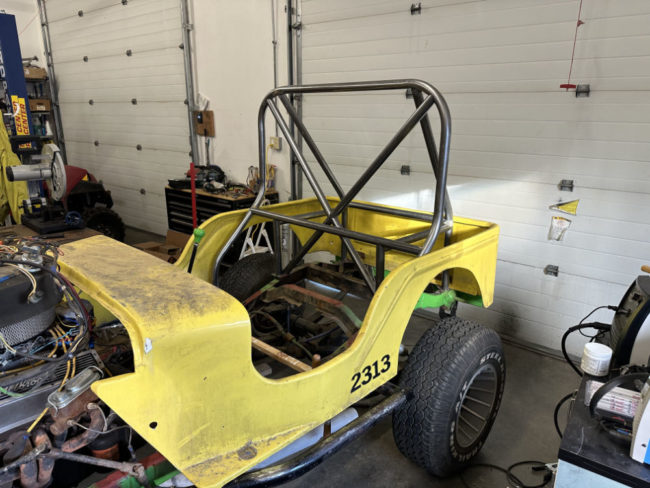
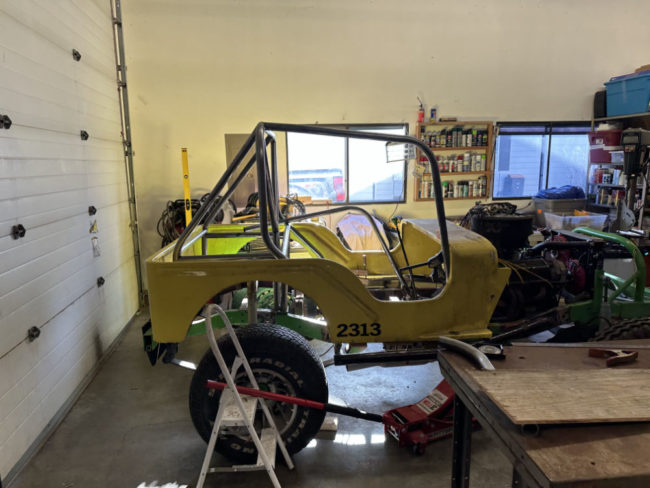
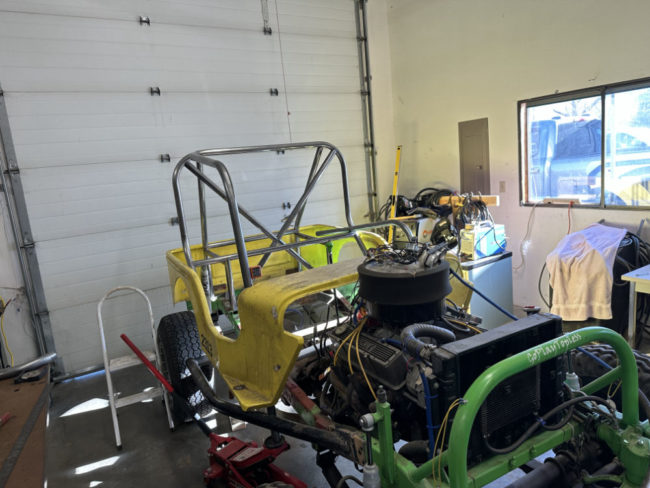
Here’s a look a the back portion with the body sitting on the frame:
There are still a number of small things to do to complete the rear portion (such as adding rear shock mounts, adding some corner supports, and, of course, welding all the connection points).
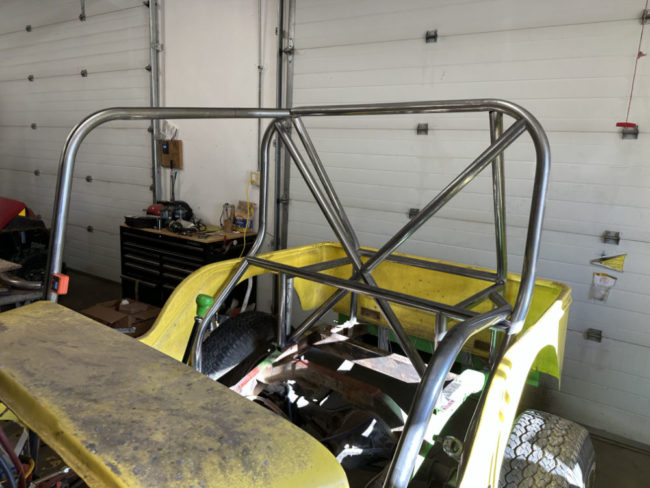
To properly calculate the two long side bars, which will run from the mid part of the frame back to the rear loop, I needed the body to be sitting on the frame.
Each side bar has four bends, so getting them both the same is a good challenge.
After LOTS of measurements, angle considerations, and design thoughts, I finally got around to bending the two most difficult angles on the side bar. Below you can see the passenger side bar temporarily in position, though the lower two bends haven’t been finished yet (next bend will direct the bar vertically at the dash, then the final bend will redirect the bar forward under the dash where it will attach to a still-to-be-added cross bar.
Unfortunately, I didn’t get as far as I’d hoped, because Ann had a bad migraine, so I had to take the dogs to the groomers (which they needed pretty badly, as bad weather forced us to cancel two previous appts over the past two months).
I expect that by Friday I’ll have all the bars bent, positioned, and maybe even welded.
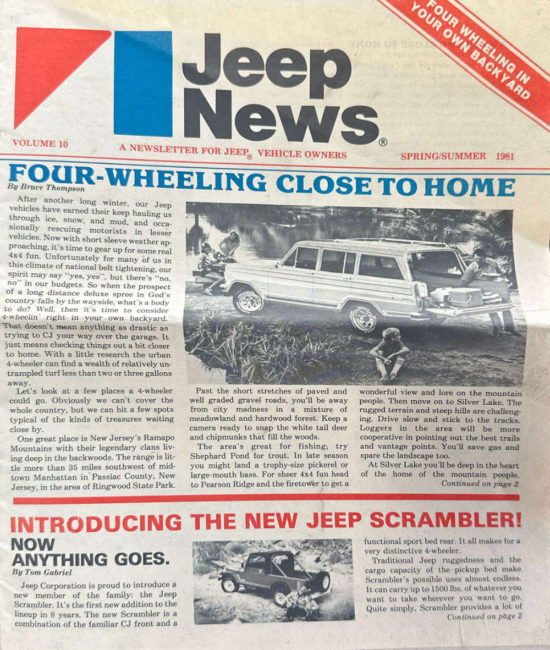
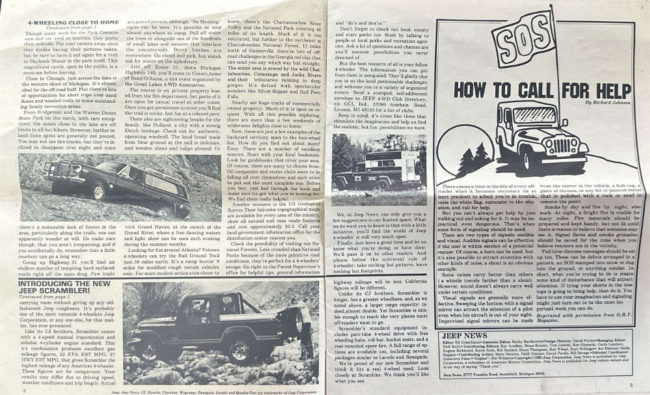
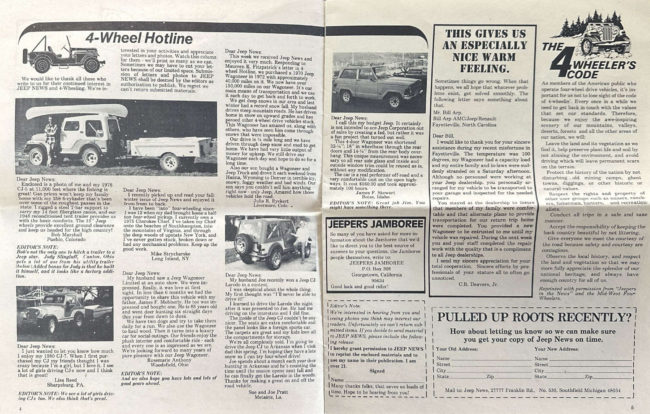
1981 Spring & Summer Jeep News
This 12-page Jeep News issue was a harder one for me to find. It includes a couple advertising inserts as well.
More Progress, Despite The Great Cow Escape
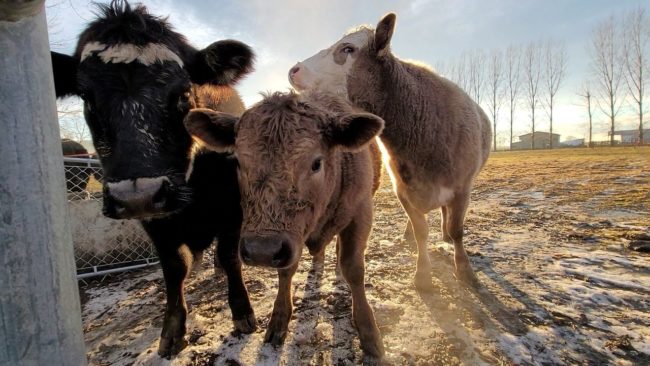
Bad cows …
I had big plans to work out early and get out to the shop. But, just as I finished my lifting, our neighbor Andrew texted me at 7:30am, “I got a text from my neighbor Dan Green. Your cows are in his pasture.”
Ugh. There went my early start in the shop.
We piled on clothes (below freezing this morning), loaded up the UTV, and headed over to Andrew’s fence line (the cows have been borrowing Andrew’s pasture). Sure enough, the cows had created a nice wide entrance in the wire fence.
The moment the cows heard our UTV, they recognized it was feeding time, so we lured six of them back to Andrews pasture. Of course, one dumb cow, our 7mo steer, couldn’t figure out how to get back through the fence, so, of course, he went over another part of the non-barbed wire fence, damaging it. Ugh.
Once at Andrew’s pasture, we wooed them over to our pasture with food and closed the access gate to Andrew’s place. With the cows grounded, we went to work on the fence.
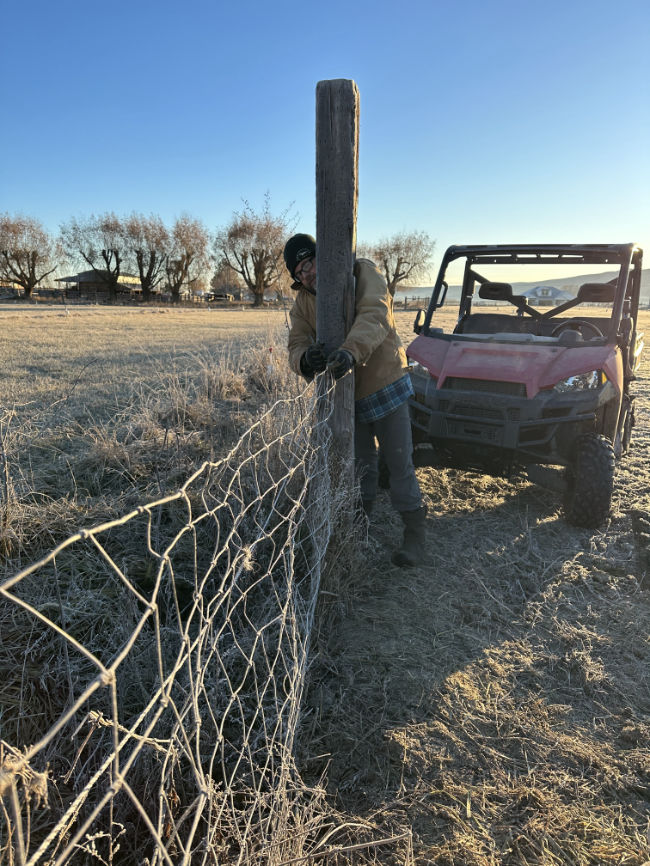
Thankfully, it didn’t take too long to fix the fence. I.believe our two mischievous 2yo steers (they become meat next month) were leaning over the fence to get some tall grass in Dan Green’s pasture, which caused the fence to collapse. Bad cows.
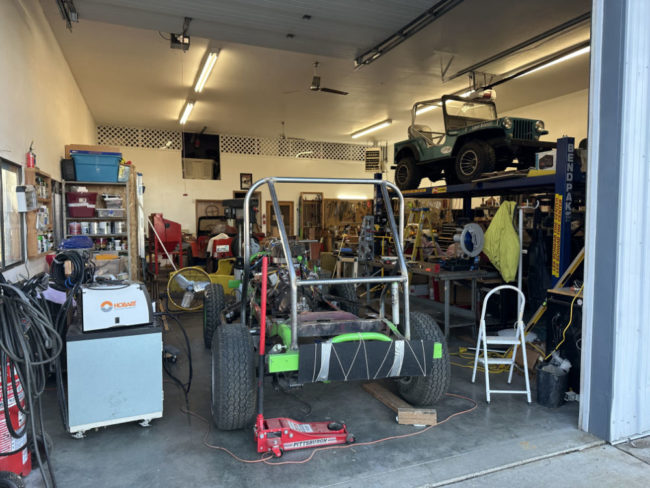
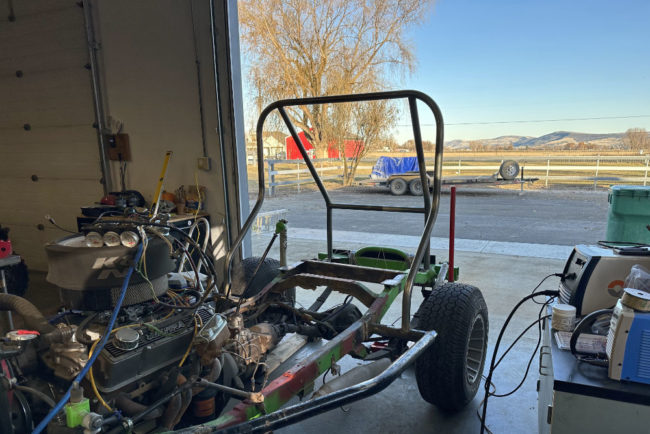
Now for the cage progress. I’ll skip the explanation (am tired) and just get straight to the pics. The big loop is completed, along with the back bars and the rear cross bar. Everything is, level, square, tacked-in-place, and ready for more bars.
There will be no work on Friday (quick trip to Seattle), but I plan to get back to it this weekend. I’ll add more bars for strength, then begin work on the front loop.
Transport Motor Company (TMC) Brochure at Farm Jeep
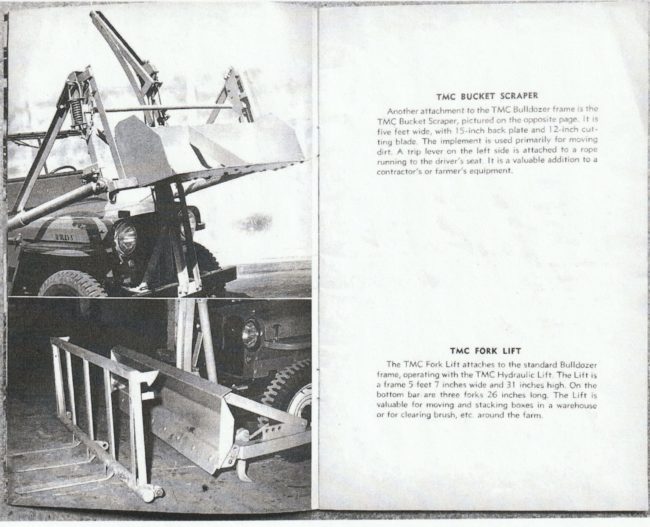
Barry has posted on Farm Jeep a really cool and rare brochure with plenty of pics from the Transport Motor Company out of California. During the late 1940s they had a full line of jeep attachments, from Hydraulic lifts, to farm equipment, to fire fighter and sprayers and more.
View it all here: https://www.farmjeep.com/farm-jeep-parts/lifts/other-hydraulic-lifts/transport-motor-company-tmc-hydraulic-lift/
Here a list of the products TMC offered:
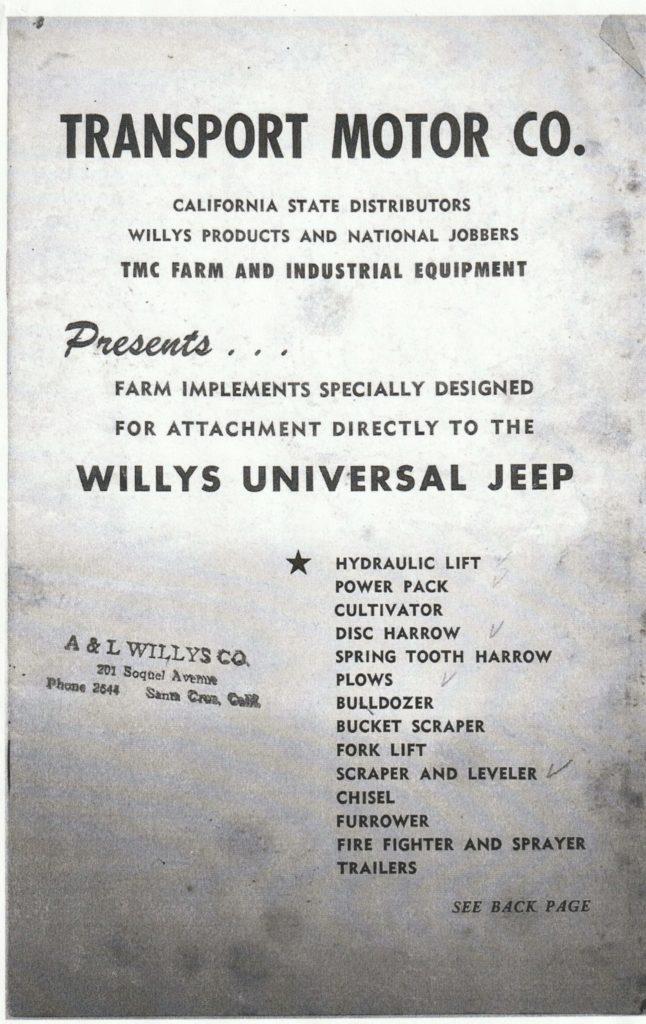
And, this shows a bucket:
Dirt Daily Video: Get an M-677 Running
Hopefully, Fred is able to fulfill his New Years resolution this year.
1966 Ford Bronco Commercial
Roger Martin shared this classic Ford Bronco Commercial with me. I figured you folks would enjoy it, too.
Getting the Bends (Correct)
More-months-than-I-care-to-think-about ago (about seven months I think), I bought a cheap Affordable Bender. When it arrived, I was less than impressed with the collar (see this post). So, I called them, only to learn that the collar was designed that way and should work fine (I believe they told me “Billions” of bends have been done with Affordable Benders, or something like that).
So, I decided to test the bender before sending it back; I hadn’t expected to wait 7 months to test it!
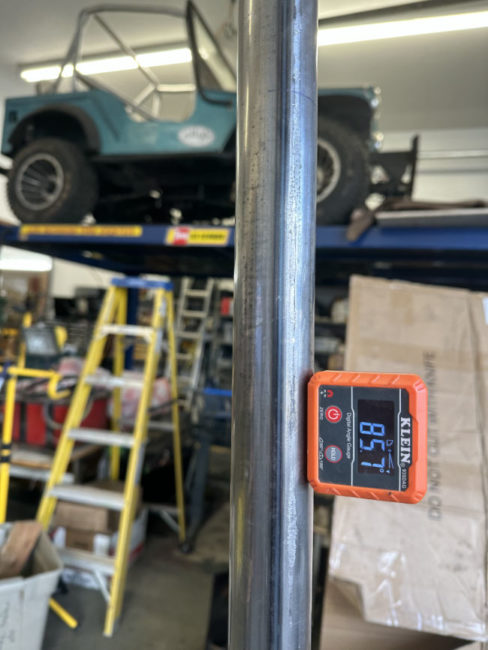
Yesterday, I mounted it to my metal work table and tested it with a 90 degree bend, one of two I need for the racer’s main loop (it’s the most difficult bend of the entire roll cage). The bender comes with a 90 degree die, so I was a little worried wether the bender would do a 90 degree bend.
First off, it didn’t take me long to miss my old bender, the one I built from plans: http://www.ewillys.com/2009/10/08/my-tube-bender-almost-done/. But, since I couldn’t access my plan (lock PDF with no password and the author of the PDF wouldn’t answer my emails), I had to buy this AFF bender.
Here are the results of the 90 degree bend .. as you can see, it stops short of a 90 degree bend:
Ugh .. what It meant is that I had to force the 15′ tube through the collar a few inches so I could add an additional bend. While that worked, I bent it too far (I misread my level .. it went to 90 degrees which I missed, then started down to 88, so I thought it was at 88 and needed to go to 90. UGH .. had to start over).
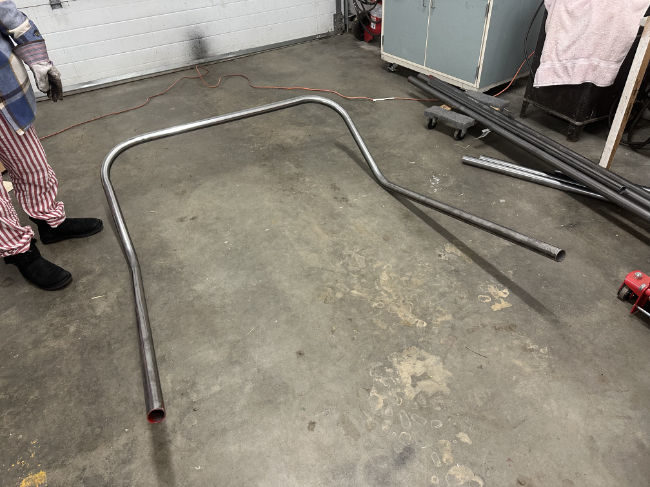
Eventually, I got the hang of how to do a 90 degree bend with this and managed to create the loop below.
This pic shows the first 90 finished and I’m starting on the second.
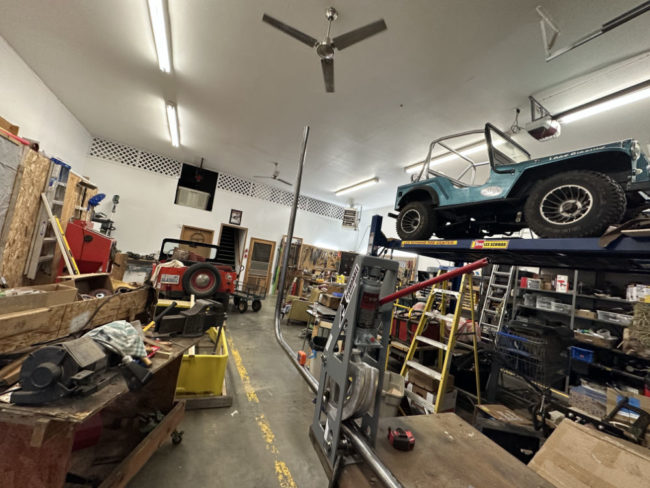
This shows the second 90 done. That is all the 90s I need, so the rest of the bends should be much easier.
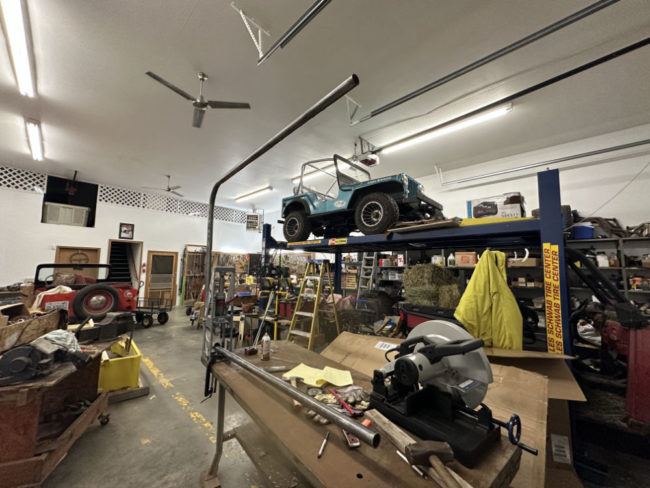
I still have two more bends on this loop (the bars are parallel, though don’t look that way in the pics), which I’ll complete tomorrow.
Modified Truck on FB
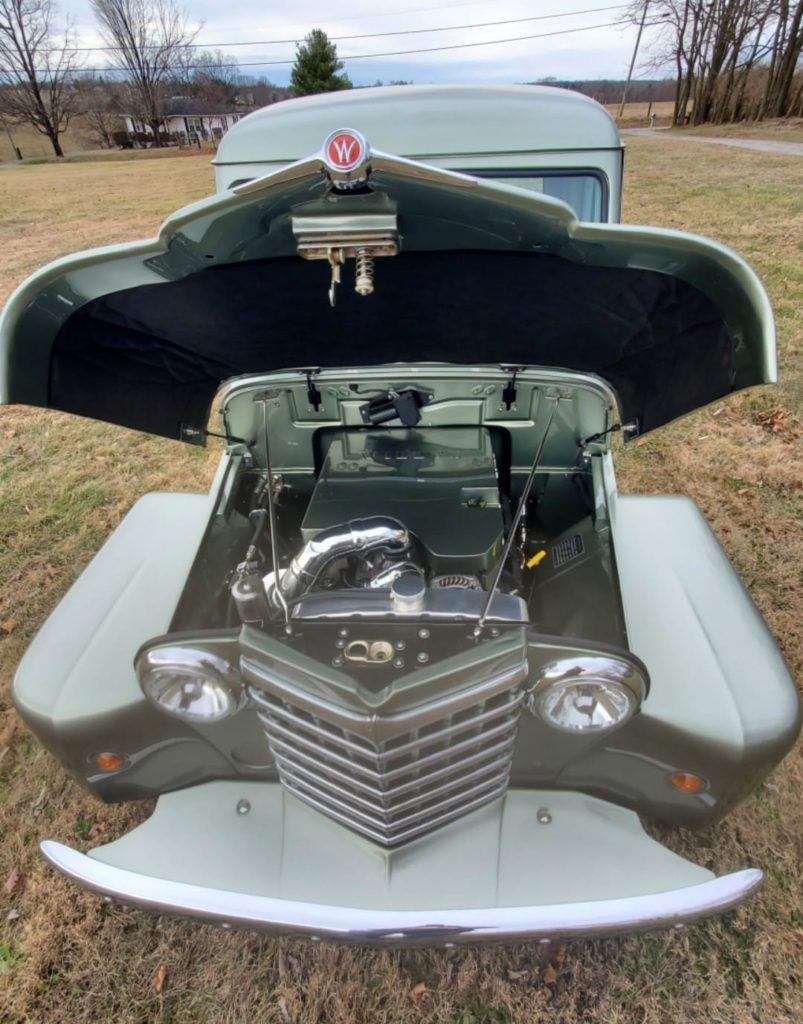
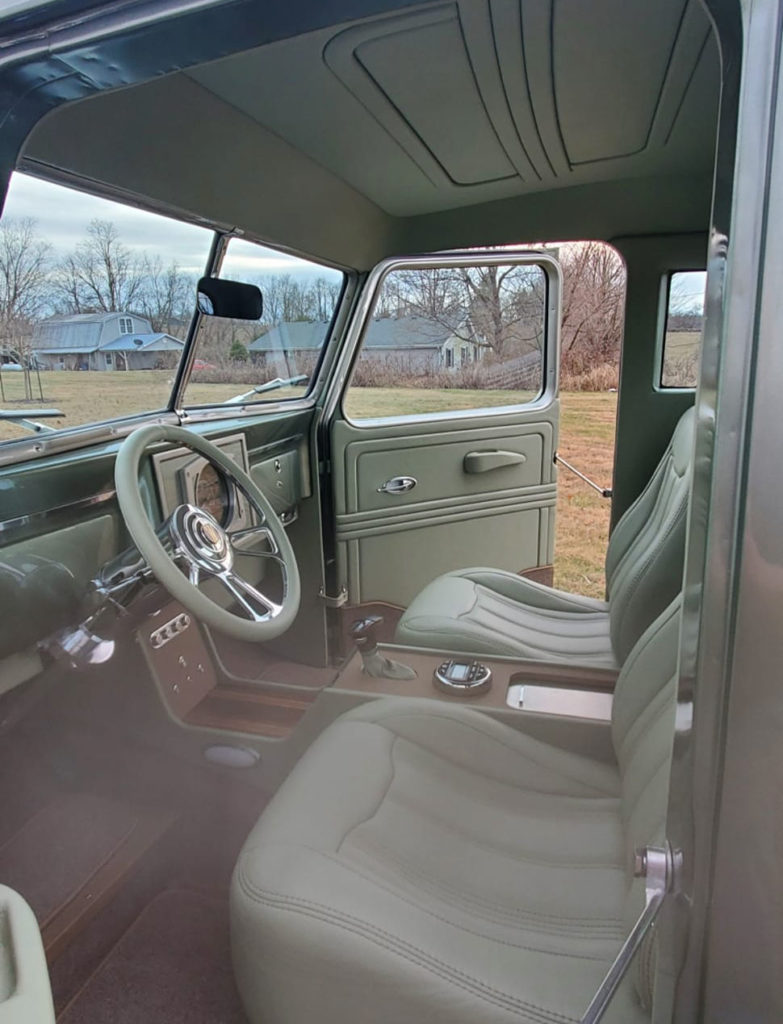
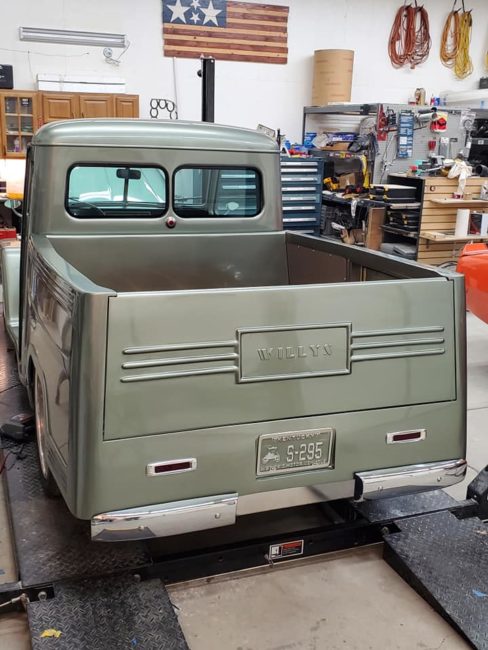
UPDATE: Dwayne posted some more pics of his truck on Facebook. You can see them below:
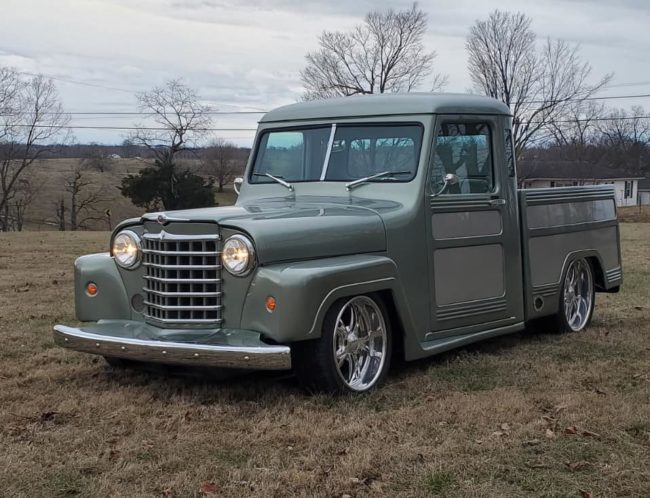
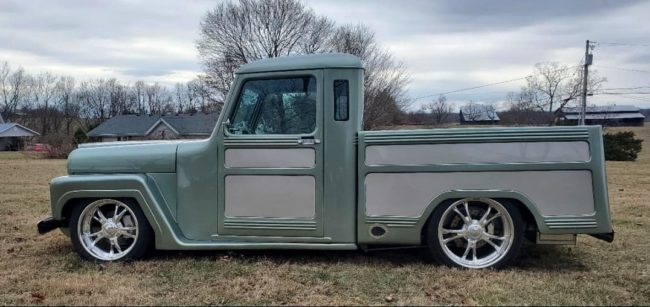
This image was posted a few days ago by Dwayne Brown. I am guessing the the back bed is a modified wagon back? It reminds me a little of the “Tender” wagons. Looks like a great rig!
https://www.facebook.com/groups/2382510764/permalink/10159262655025765
1953? Magazine Ad on eBay
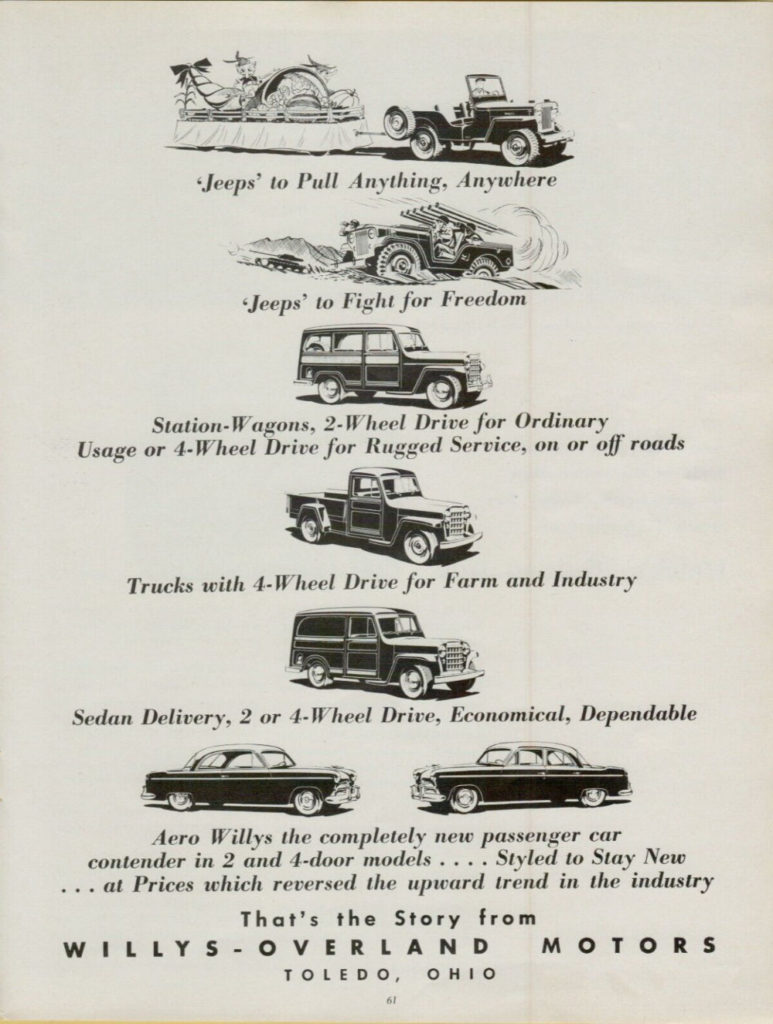
This unusual ad appears to include an M-38A1. It also shows a CJ-3B, but not a CJ-3A, so my guess is 1953.
View all the information on eBay
“The actual ad you are buying is the one pictured above. Please look at it closely and ask any questions you want.
These are advertisements that are carefully removed from vintage magazines – please read the full description and ask any questions if you are unsure of anything.
You are buying the advertisement, not the product in the advertisement.
Original 1 page print advertisement, measures approximately 8.5″ x 11″. (Not a reprint or reproduction, all of my items are originals). These ads are from various publications and are all vintage – no reprints or reproductions ever.”
Jeep Model Kits
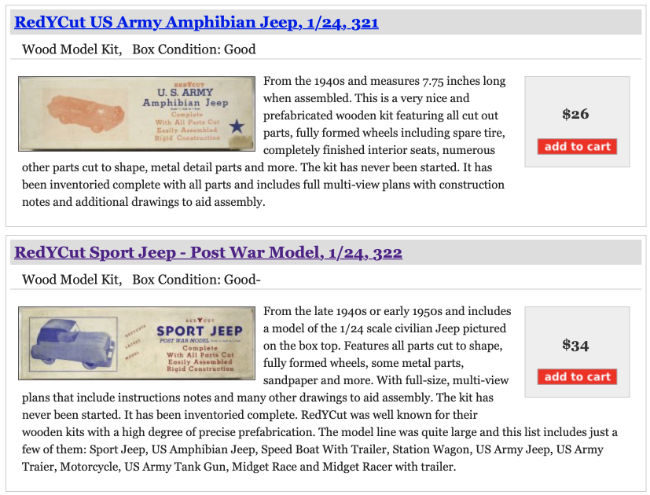
John spotted some vintage jeep/willys model kits at the Old Model Kits website. They seem cheaper than you’ll find on eBay.
Racer Update
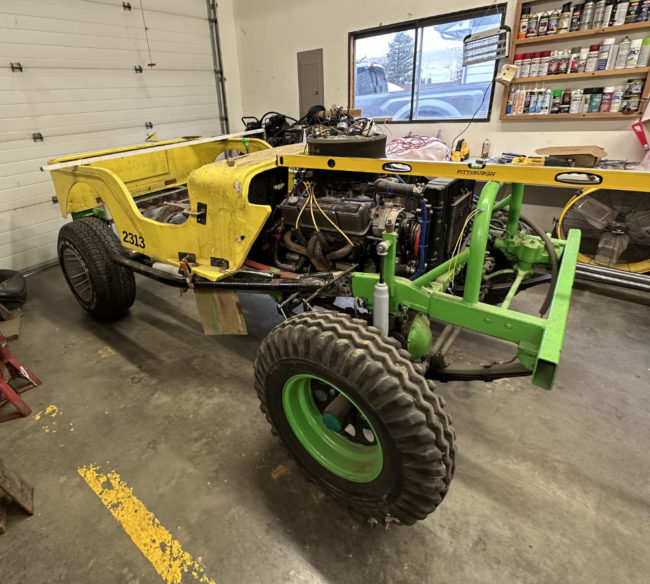
I’ve spent parts of the last couple of days thinking through how/where the new cage will attach, how the floor should attach, and how the body should attach and where it should sit. For example, the body must be far enough forward so that the solid front clip can slip over the front of the radiator, but back far enough to sit in the right area in the back.
My initial intention was to bolt the cage fo the frame, but this frame (already cut and spread 5″) has enough mods that if I’m at a point that the cage has to be removed to make changes, I’m better off starting with a new frame (and, at this point, I don’t want to do a ground up rebuild).
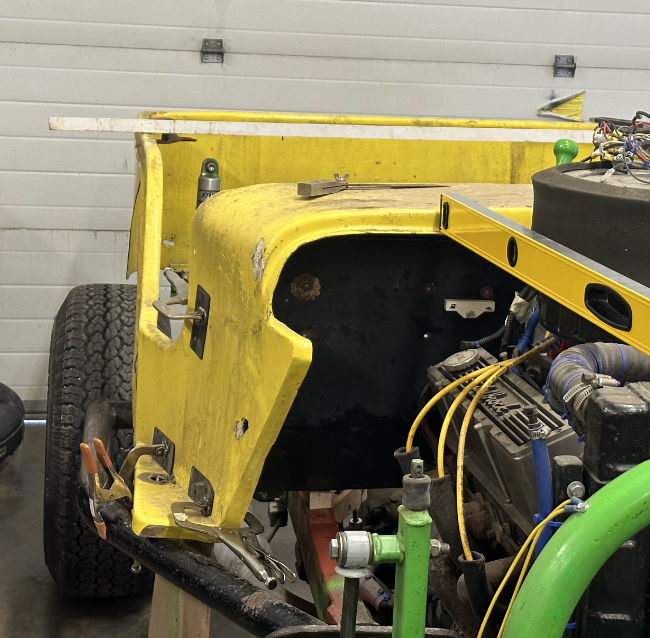
Additionally, the body has warped some, so I will need to build a jig out of wood so that I can try to straighten the body some (apparently, using a heat gun, I should be able to remove some of the warping. What I can’t re-straighten, I will use fiberglass and/or some (probably) aluminum plates placed strategically to make it look straighter.
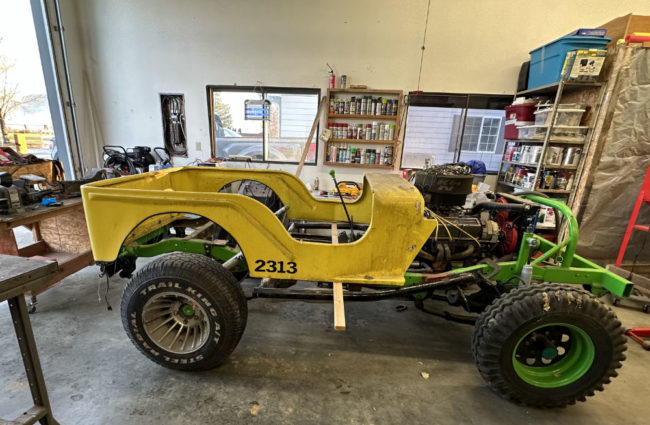
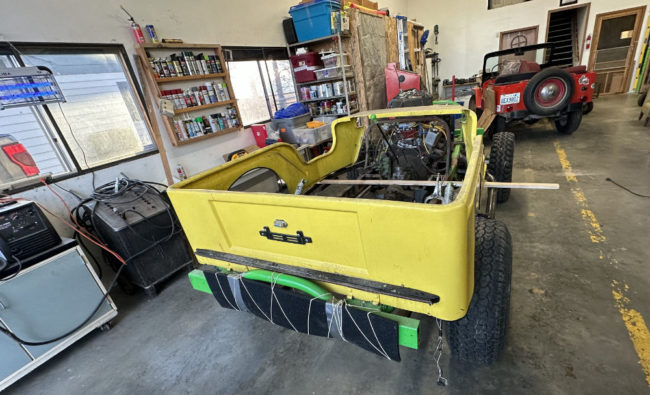
Here’s a couple pics of the body. You may not be able to tell, but both sides of the front of the body have flexed outward. So, between the heat gun, the jig, some interior plating, and the use of strategic mounts, I should be able to make it look a little less out of whack.
Over the next week we are supposed to have (finally) dry weather and temps that will be in the high 40s and low 50s, so I hope to get the cage built and, maybe, the body cleaned up to ready for some fiberglass repair and, eventually, some paint.
Though I dislike the neon green chassis, Ann has acquired a taste for it, so I might start with the body painted black, similar to the narrow body that was on it.
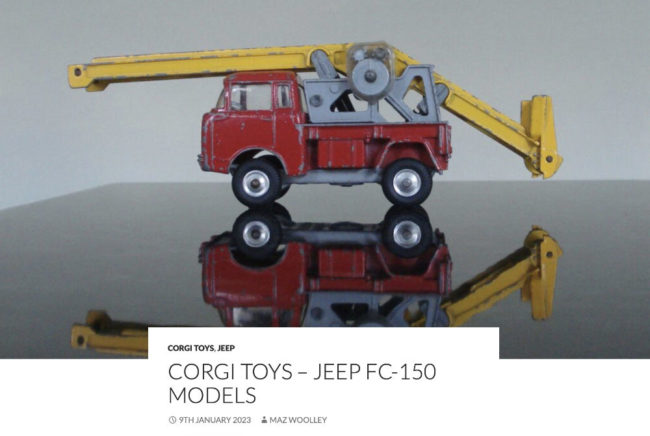
Corgi FC-150 Models
Craig shared this page (I think on FB), It’s as good of an explanation of Corgi FC-150 models as I have seen.
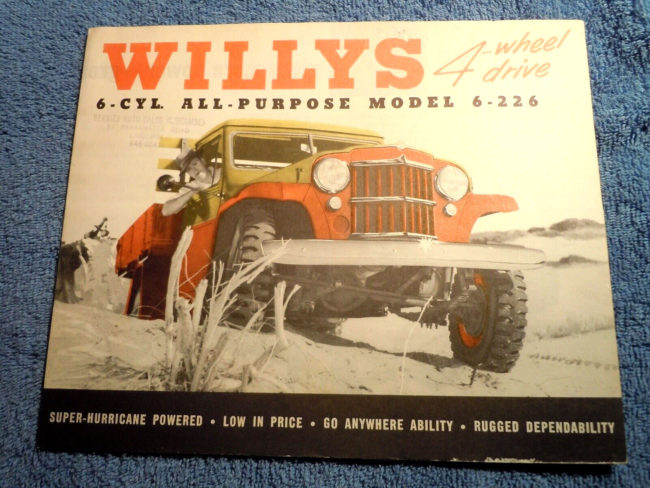
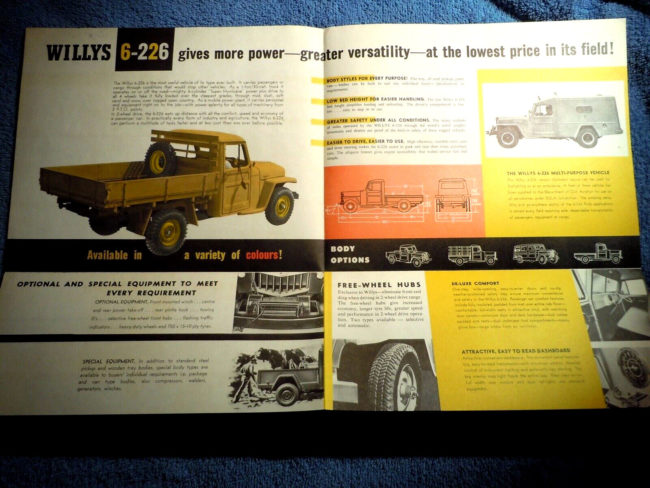
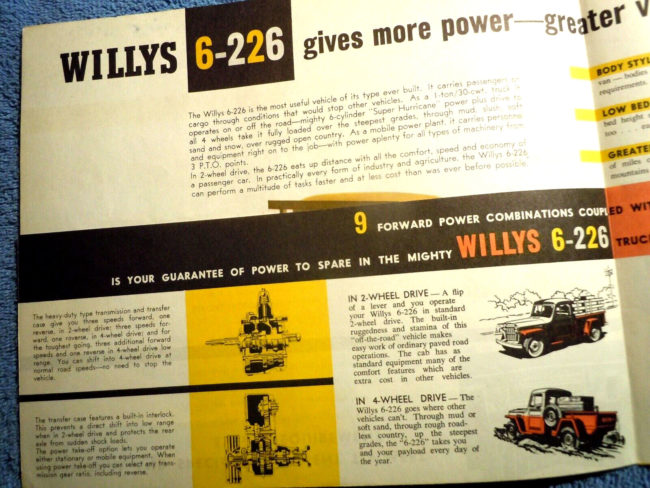
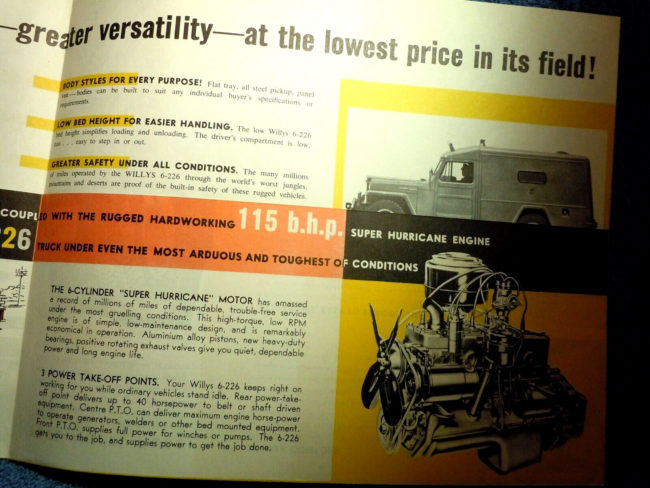
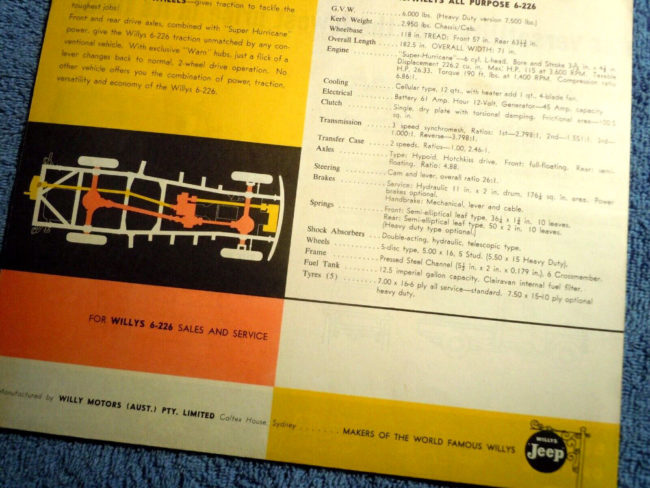
1957? Australian Jeep Truck Brochure
I missed out on this rare Australian Jeep Truck brochure (totally spaced the auction). I can see no date or form number on any pages. My guess is that this was published in 1957 or 58.
The description from th auction reads, in part:
“WILLYS 4WD 6 CYL. ALL-PURPOSE MODEL 6-226
GOOD CONDITION OVERALL. CLEAN,GOOD COLOR AND GRAPHICS. SLIGHT WEAR FROM AGE AND STORAGE.
WILLYS MOTORS AUSTRALIA PTY. LIMITED
4 PAGE FOLDOUT
BROCHURE CONTAINS SPECIFICATIONS, DIFFERENT BODY STYLES, OPTIONS, ETC.”
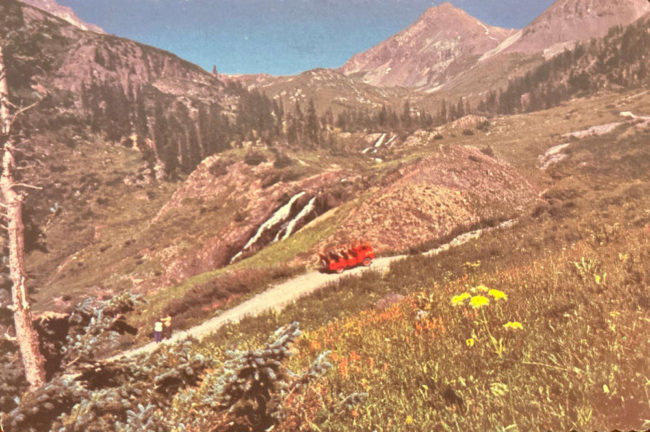
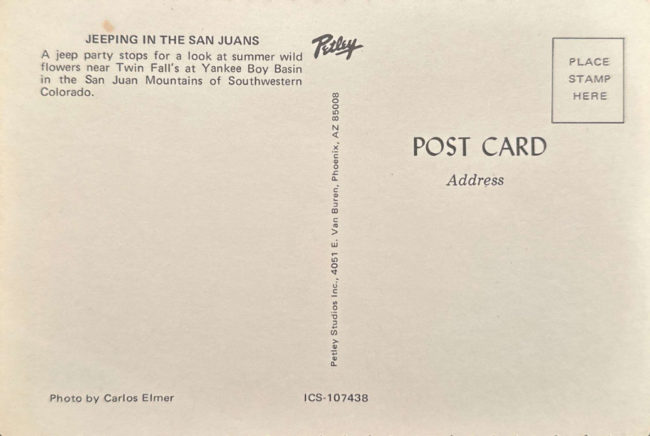
San Juan Scenic Jeep Trip Postcard and Brochure
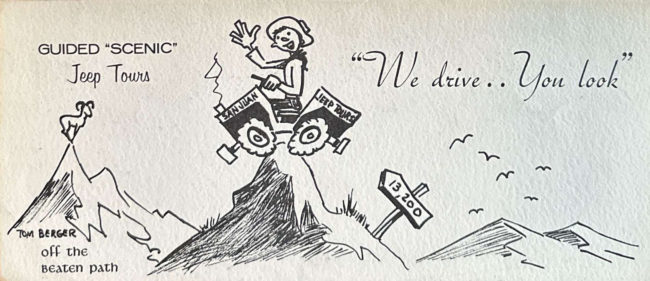
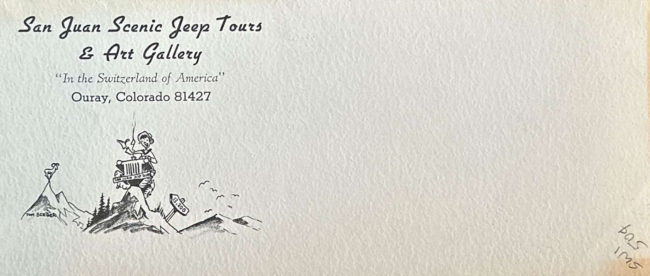
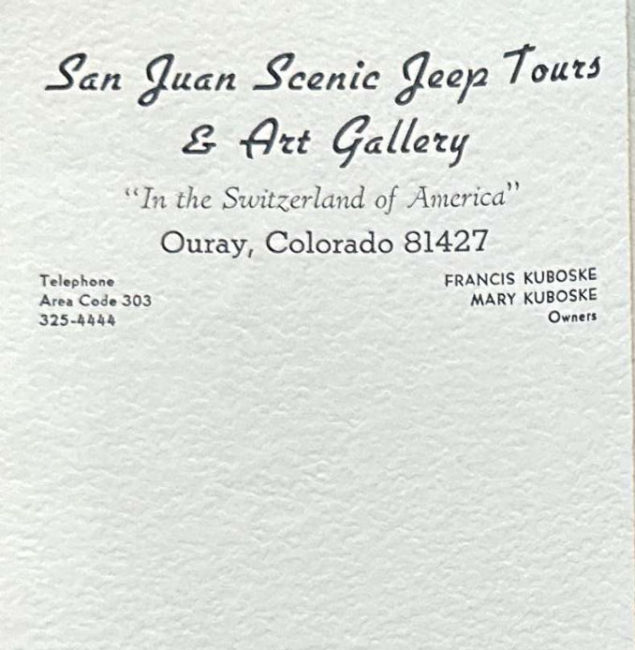
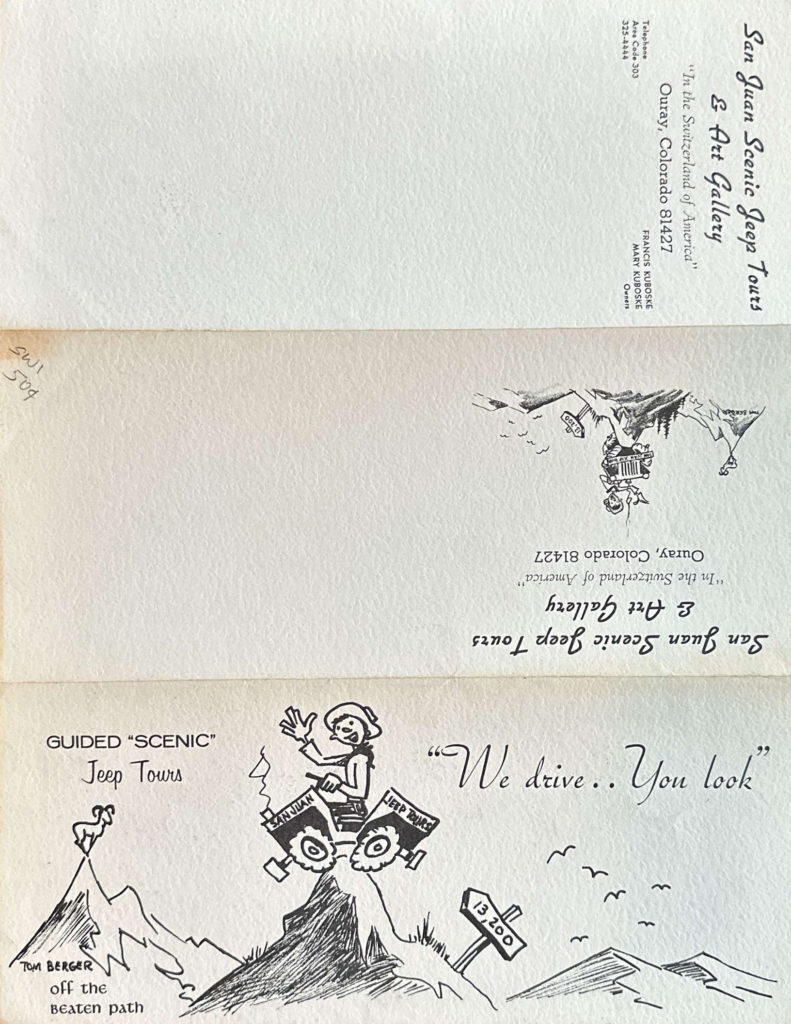
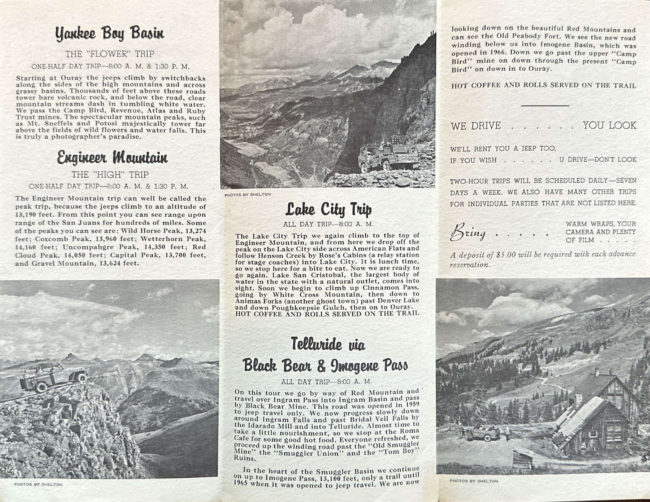
These two items from the San Juan Scenic Jeep Trip business were on eBay, so I snagged them.
This postcards shows a FC Tour Jeep climbing a steep trail.
This tri-fold brochure is undated. It has some good photos and artwork. These first three images show the front side of the brochure.
This is the inside of the tri-fold:
Dec 1969 Jeep Family Brochure from Kaiser Jeep
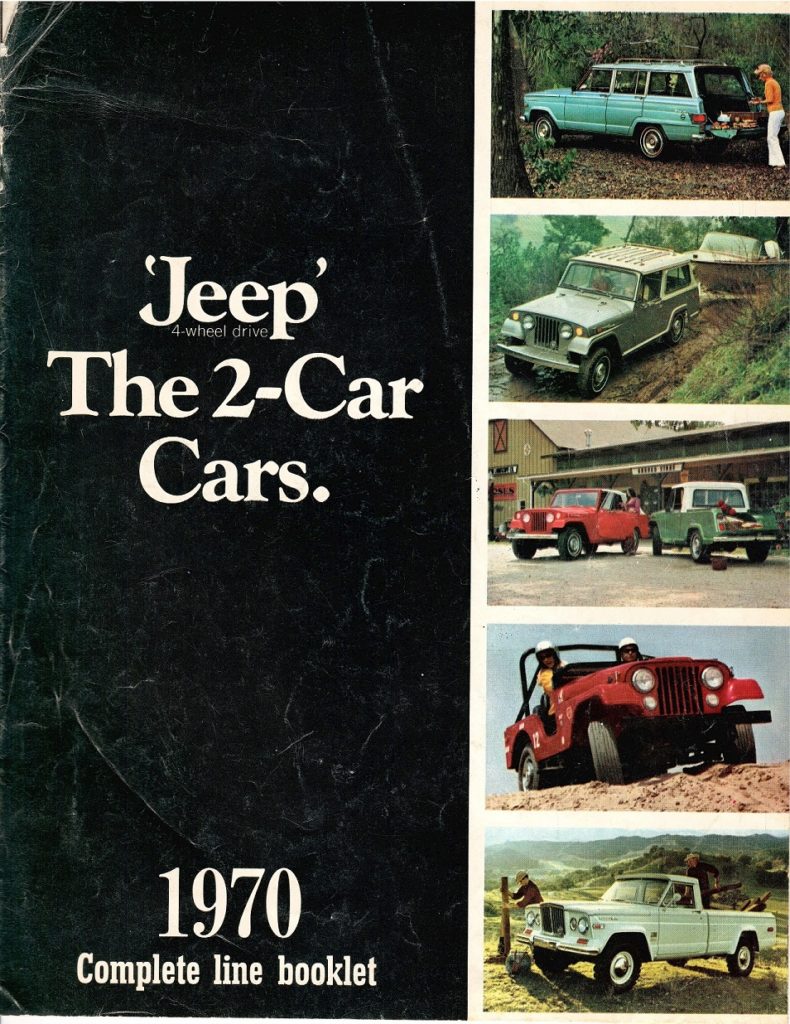
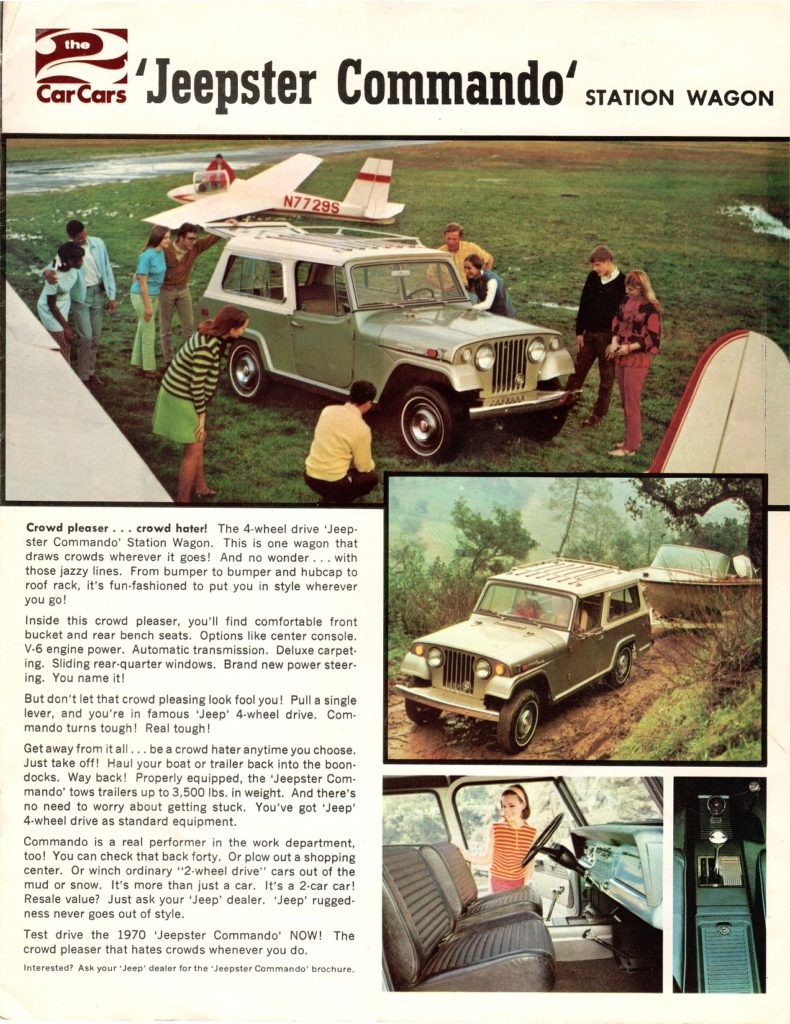
Maury let me know that scans of a 1969 Jeep family brochure (Form 69-12) was posted to earlycj5.com page. There are three particularly interesting things to me about this brochure. Somehow, I never picked up a copy, so I found one on eBay.
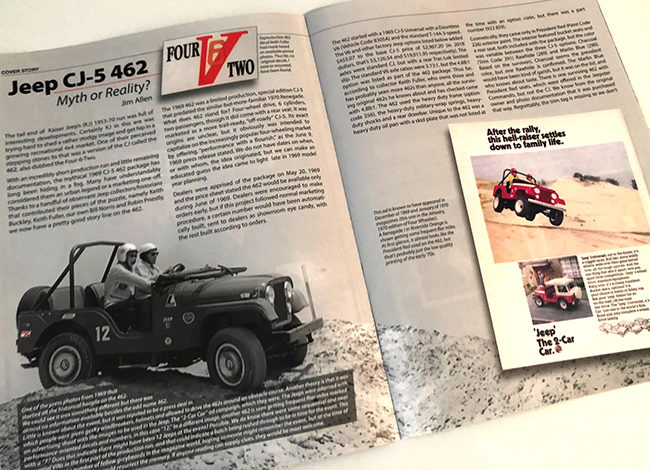
1) The red CJ-5 shown with a couple “racing” it is a rare 462 model, perhaps it’s only appearance in a jeep-family-brochure;
2) the brochure doesn’t mentioned the model in the brochure; and
3) this jeep must have been part of a photo shoot (probably not really racing), because this brochure shows two photos of the same shoot and the 2018/2019 Dispatcher Magazine’s article on the 462 shows a third pic of the same jeep and couple.
Before the brochure, I’ll included the Dispatcher Magazine image:
Here is the full brochure as posted by Dave from the earlycj5.com website:
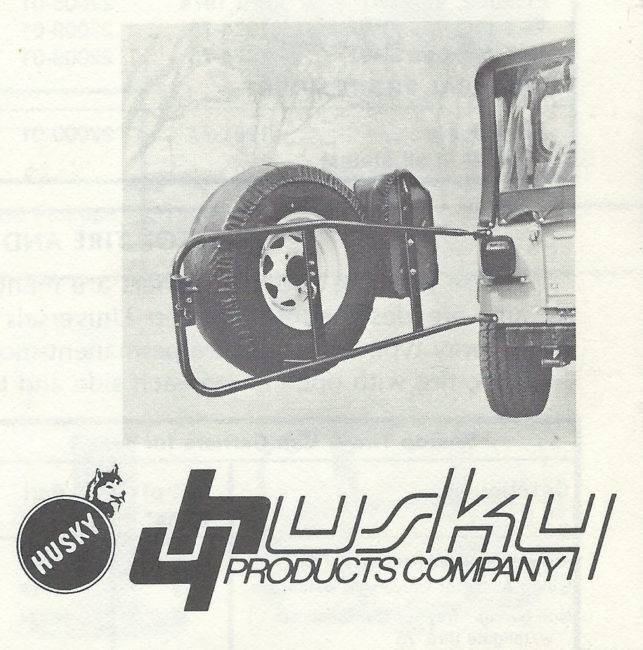
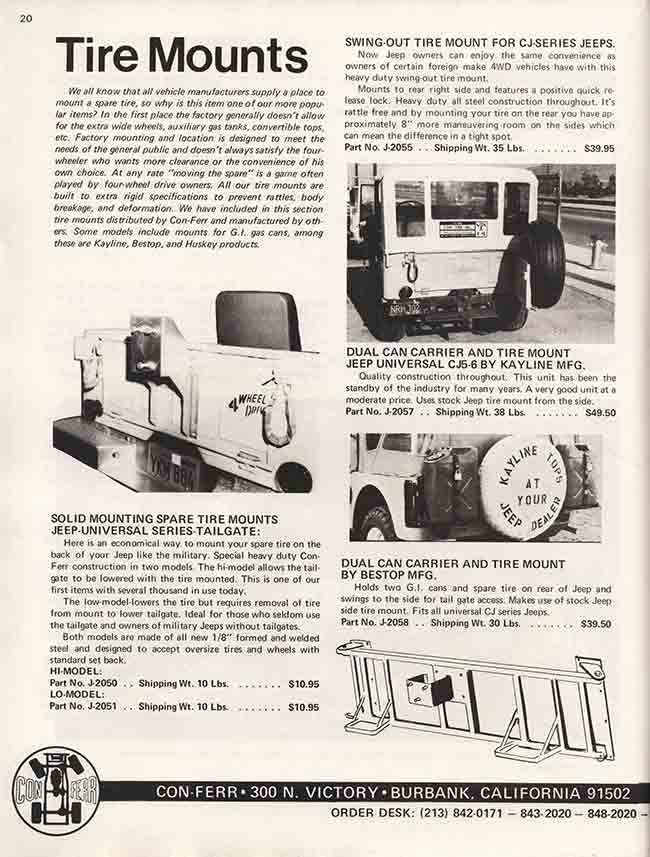
Different Tire/Jerry Can Carriers
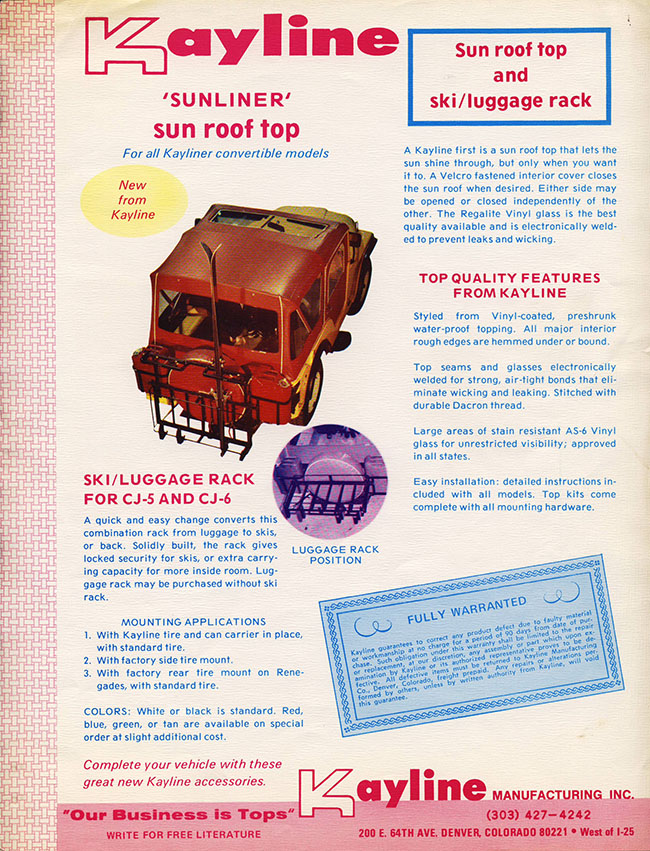
UPDATE II: Another carrier to add to the list thanks to Jim. This was a Husky-built tire and jerry can carrier.
=============
UPDATED October 31, 2019: More Tire and Gas Can carriers have been added to this post.
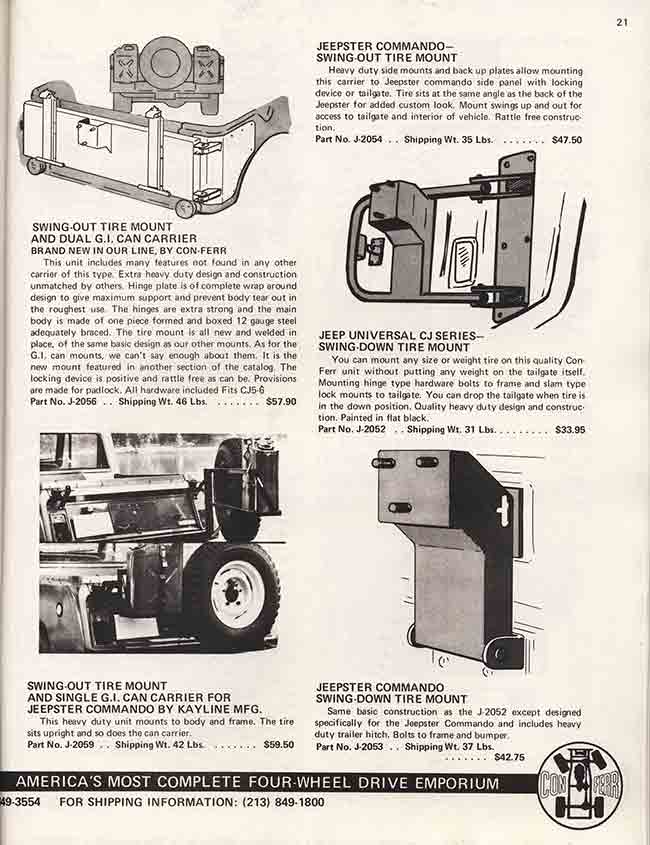
1. Con-Ferr offered various options in it’s 1970 catalog. A few of the mounts were made and sold by Con-Ferr. The pages also include a Bestop Tire Mount and another example of a Kayline tire mount:
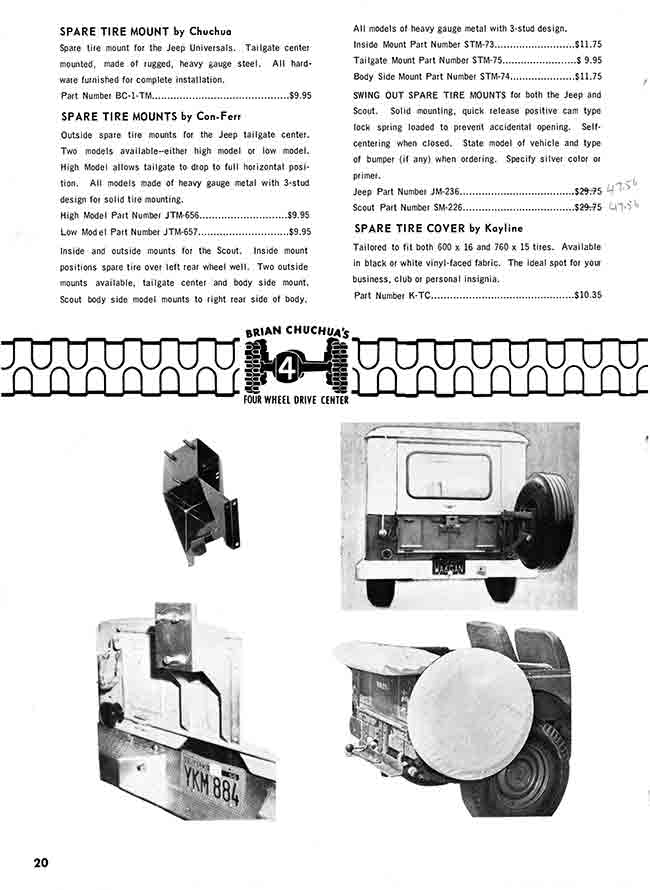
2. This page from the 1970s Brian Chucha Catalog provides additional pics of the Kayline and the Con-Ferr carrier options:
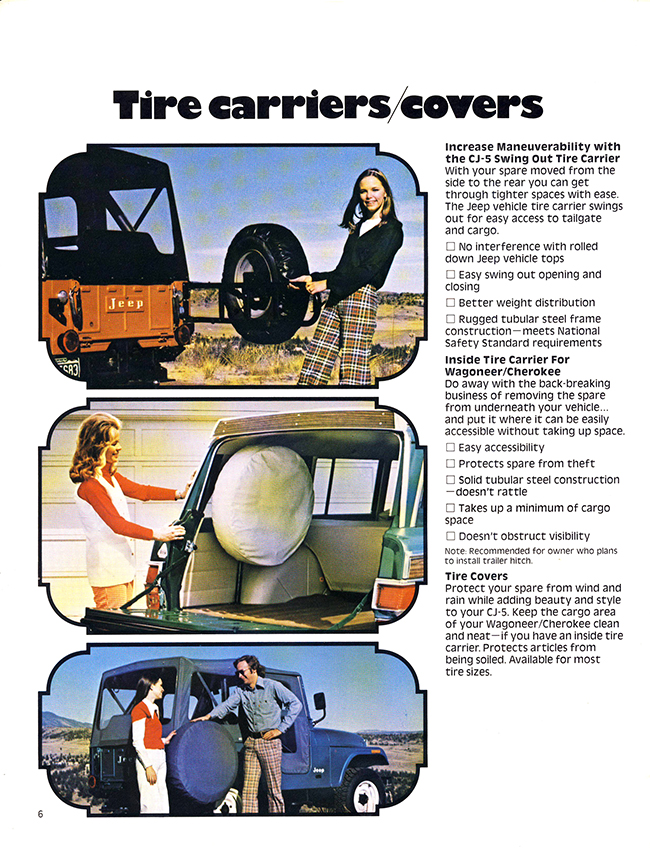
3. Best Top Tire carrier from the late 1970s catalog:
2 1945 Negatives of GPWs on eBay
These two negatives from 1945 might interest GPW collectors.
Sportif, Dispatcher, Beach Comber, Commuter & DJ-6A
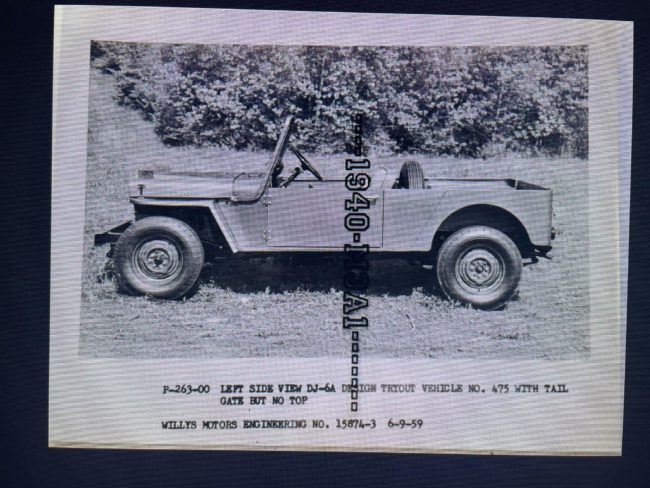
UPDATE: Roger Jordan posted this rare photo of a DJ-6A concept vehicle on Facebook. It reminds me of the Dispatcher-100 and Sportif models, so I’ll add it to this page
===========================
Originally posted April 8, 2019:
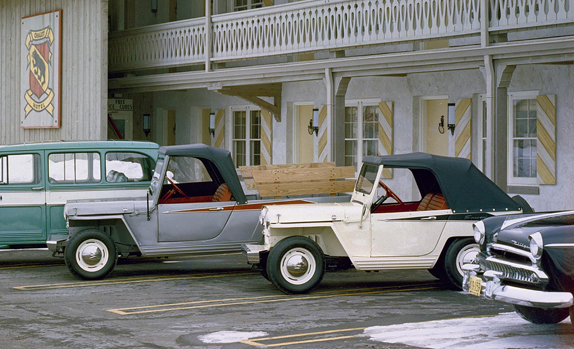
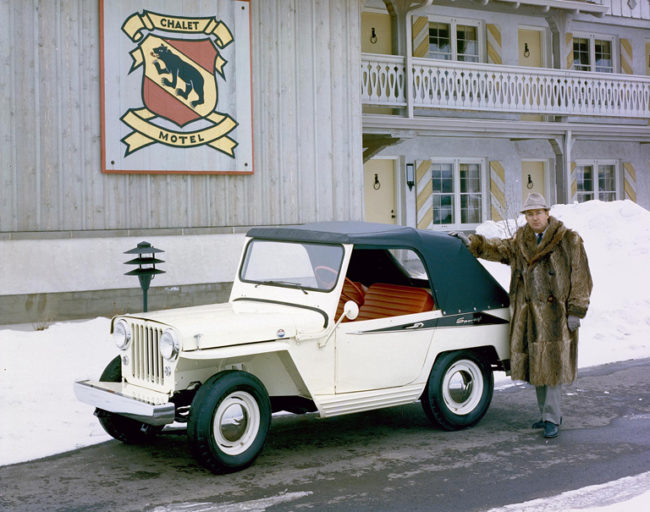
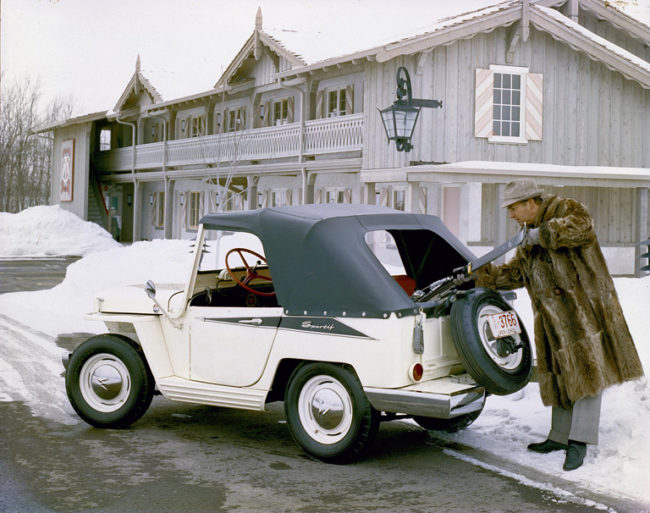
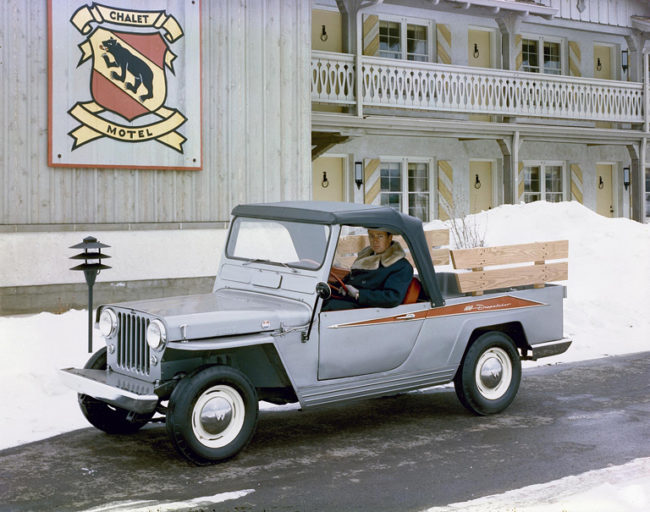
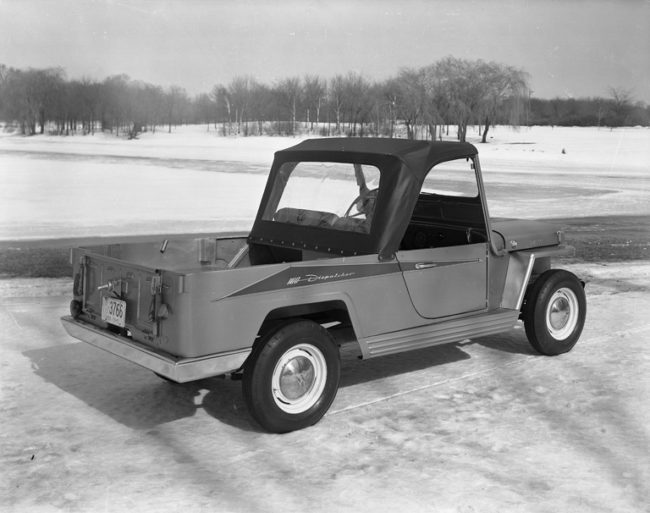
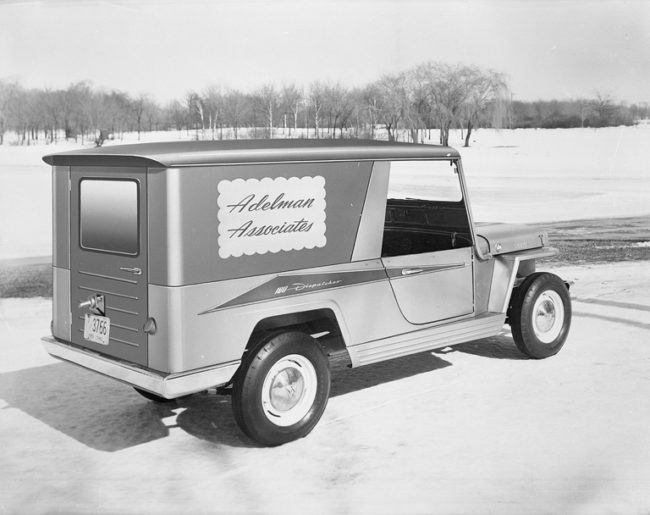
As most folks know, Brooks Stevens was instrumental in numerous production and concept car designs. One of the lesser known projects was, apparently, an offshoot of the DJ-3A 2WD line. There are four documented designs, two of which became concept vehicles.
- The Sportif: This DJ-3A-like vehicle appears to use the DJ-3A convertible windshield and hood, to which some stylistic designs have been added. There are a variety of undated pics at the Milwaukee Art Museum’s website which tags the images as being prototypes for the Canadian Market. A March-April 1995 Willys World article dates the pics to 1959. Brook Stevens is pictured in both images.
- The Dispatcher (aka Dispatcher Sportif) and Dispatcher 100: The Milwaukee Art Museum labels this simply as the Dispatcher, but other placed identify this as the Dispatcher 100 or Dispatcher Sportif. You can see all the pics at the Museum’s website.
Dispatcher 100: Derek Redmond published a slightly different version of this concept at the CJ-3B page. It’s titled the Dispatcher 100 (has an insignia with the name on the passenger door) and it may represent a slight update or next evolution of the “Dispatcher” above. The cover on the passenger side cowl suggests this might have been made from the later model DJ-3A body (which used the hole for a heater vent).
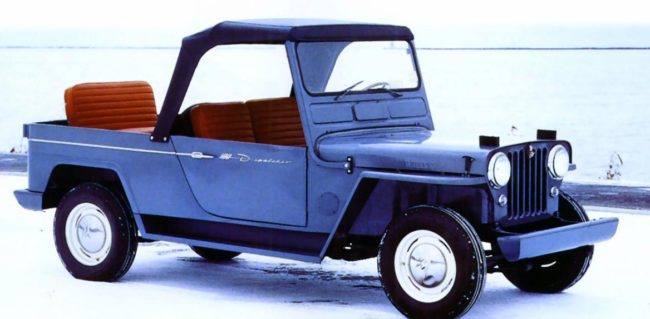
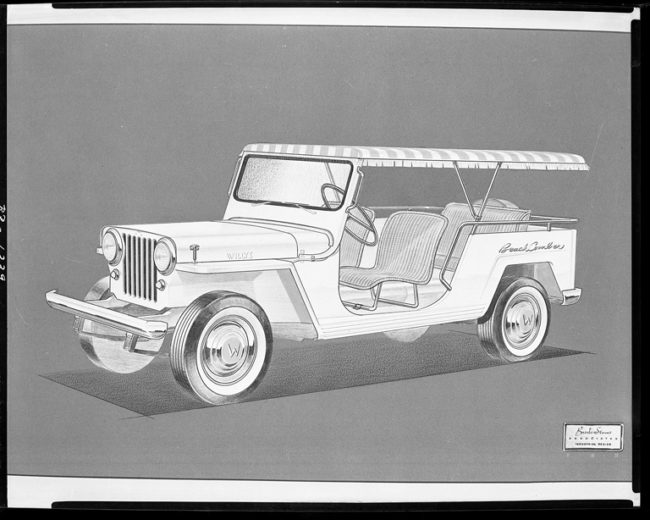
- Jeep Beach Comber: This fanciful 2WD vehicle looks inspired by the DJ-3A Surrey, one designs for beaches and vacation rentals. There’s only one image of it at the Milwaukee Art Museum. This appears to use the later model Willys hubcaps seen on the Surreys.
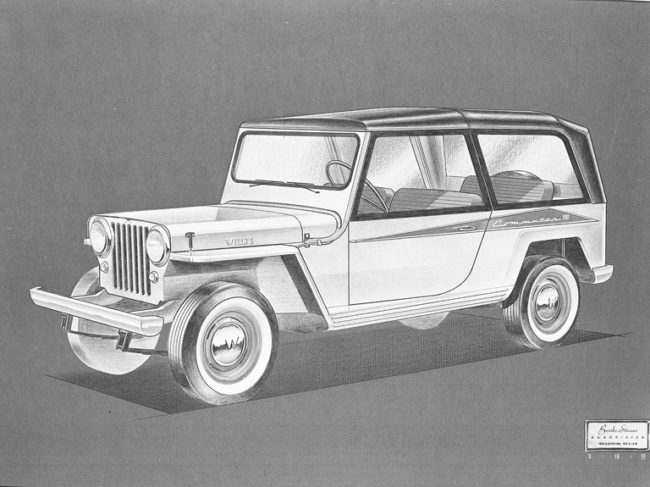
- Jeep Commuter 100: It looks to be a roomier version of the other vehicles, but with a top that allowed lots of visibility. There’s only one image of it at the Milwaukee Art Museum. This jeep also appears to use the later model Willys hubcaps seen on the Surreys. I can attest that the low windshield and low soft top (if that is a soft top) would have made it difficult for 6-footers like me to climb back into the rear seat.
2023 Willys Jeep Rally June 2-3 2023
This year’s Willys Jeep Rally will be held June 2-3 2023 at its usual location in Houston Woods, College Corner, Ohio. Thanks to Russ for letting me know! You can learn more here: http://www.mw-willysjeep.com
Unusual Windshield on MB
UPDATE: As Barney notes in the comments, it appears to be a windshield adapted from a Mighty Mite. You can see an example here: http://www.ewillys.com/wp-content/uploads2/2020/11/year-m422a1-imperial-ca1.jpg
Buz just acquired this MB that has an unusual windshield setup. I have seen some bubba jobs similar to this windshield, but someone did this much better than most. It does not appear to be an M-38A1 windshield (too narrow), but it doesn’t appear to be a CJ-3A/DJ-3A windshield (curved top holder). Anyone recognize it?
He described the windshield this way:
I bought this 1943 Willys MB with this unusual style M38A1 windshield assembly. It is narrower than the M38A1 windshield and this one has not been cut and welded. Also a very precise adaptation to the cowl to mount the windshield. No doubt it probably harms the value of the 1943 model, but it has to have been some sort of factory modification, it’s not a home brew bubba job. Have you ever seen anything similar to this? I have the history of this jeep back to 1947. The first civilian registration was issued in 1947 to E. W. Worrell who paid $800 for it in Hillsville, VA.
Here are some pics.
Back to the Racer
After an unexpected detour of 6 months, I finally had a chance to return to working on the racer.
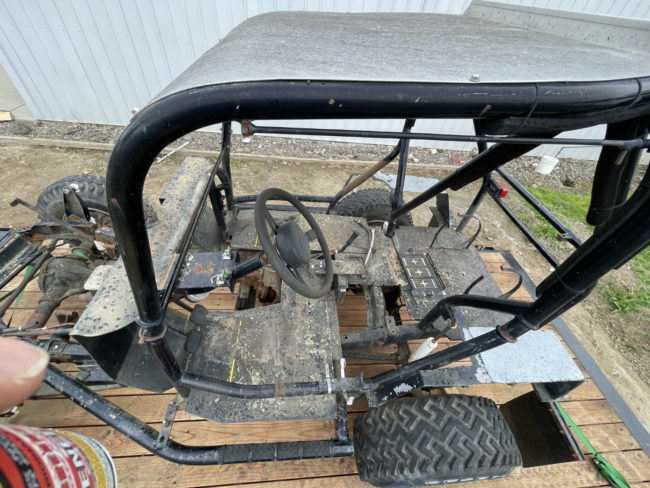
My first project was to create the side bars by reusing the 2 1/2″ side bars from the yellow racer. You can see them mounted on the old racer here (my finger is accidentally pointing out the driver’s sidebar in this pic). I cut both of them off this chassis.
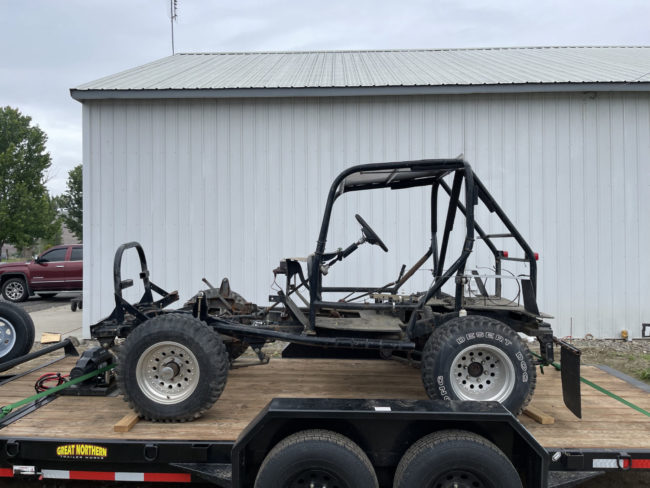
Here is a side view of the old chassis. These sidebars are angled upward to attach at the angled portion of the frame near the engine mounts. I liked the look of them, so figured I’d reuse them. At this point, I also plan to build the new racer cage similar to what you see blow, but with a few changes.
Somehow, I managed not to take many pics of this process, but I started with my new metal saw by cutting the side bars so they’d sit flat (I removed the sidebars from the other chassis with a sawz-it-all, so the cuts weren’t great).
Trying to get this angle just right on the front portion of the bars was tricky. So, I cut the back bar first to the optimal length, then dropped the front of the bar over the edge of the table until the tube was level. Then used the flat edge of a carpenter square to draw a straight edge on the bar.
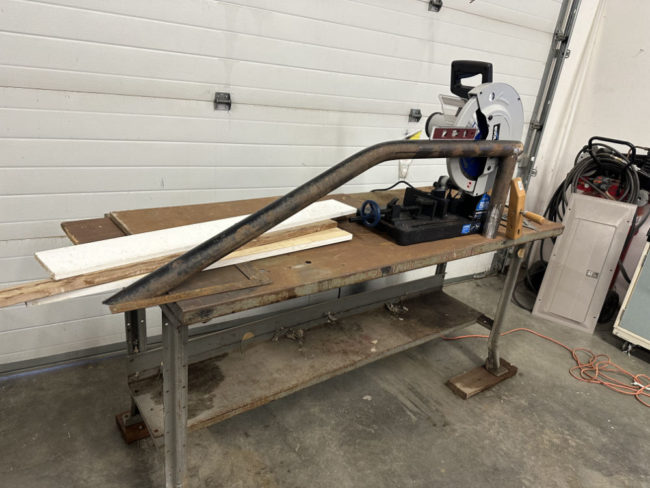
Here, the cut has been finished.
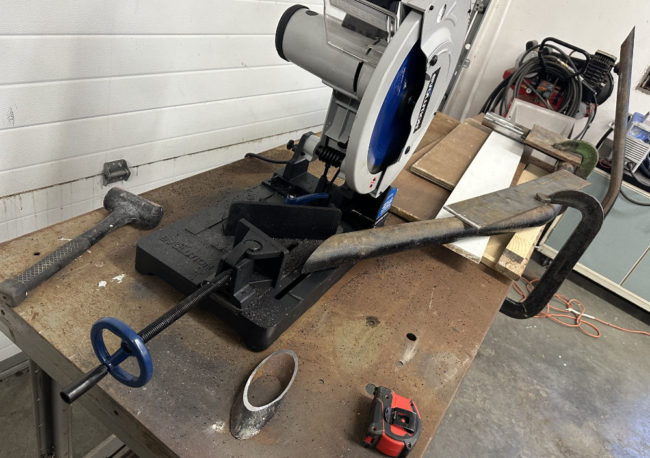
Next, I welded plates to each tube end. Then, I clamped the tubes to the sides of the frame. With that done, Ann and I put the body in place to make sure it fit over the angled side bar, which it does.
Since it looks like things will fit correctly, I will pull the body back off, pull the side bars off, clean off the paint where I need to weld on the frame, and attach the sidebars.
Next, I’ll spend some time determining how the floor, cage, firewall, and the seats will mount, and how the side of the body will attach to the cage (the body sides are weak rather flimsy, so it needs a good mounting system).

